How to Install a Smart Thermostat Like a Pro – Step-by-Step Guide
Adjusting your home’s temperature can be a hassle. Smart thermostats offer an easy fix. This guide will show you how to upgrade to energy-efficient thermostat installation, step by step.
Get ready for comfort at your fingertips!
Key Takeaways
- Smart thermostats can save you up to 23% annually on energy bills by learning your habits and adjusting temperatures accordingly.
- Essential tools for installation include a screwdriver, drill, level, and wire cutter/stripper. Each tool plays a critical role in ensuring the thermostat functions correctly.
- Troubleshooting common issues might involve checking for loose wires or incorrect temperature readings due to poor placement.
- HVAC professionals can help install smart thermostats effectively, saving time and avoiding mistakes that could lead to system damage or inefficiency.
- Configuring your smart thermostat involves connecting it to Wi-Fi and setting preferences through an app, allowing for remote control and scheduling based on your routine.
Reasons to Install a Smart Thermostat

Smart thermostats help you save money on your energy bills. They offer convenience by adjusting temperatures based on your preferences and schedule.
Energy savings
Smart thermostats can save homeowners significant energy. They adjust heating and cooling based on your habits. This means they run only when needed, reducing energy waste. According to studies, users can cut their energy bills by up to 23% annually with these devices.
Upgrading to a digital thermostat enhances efficiency further. Users enjoy better temperature control and more accurate readings. A connected thermostat helps manage HVAC systems effectively, ensuring comfort without overspending on utilities.
Saving money while improving home automation is an excellent reason to install a smart thermostat.
Convenience
Smart thermostats offer great convenience for homeowners. You can control them from anywhere using your smartphone or tablet. This feature makes adjusting temperatures easy, even when you’re not at home.
Smart home technology allows you to set schedules based on your daily routine, saving time and energy.
Many users appreciate the automation features of these devices. For example, they can learn your habits and adjust settings automatically. A connected thermostat optimizes heating and cooling efficiently throughout the day.
This technology simplifies home improvement tasks while enhancing overall energy efficiency in your space.
Increased control
Convenience leads to increased control. A smart thermostat gives you powerful options for managing your home’s climate. You can set specific temperatures for different times of the day.
This feature ensures that your home remains comfortable without wasting energy.
Remotely controlling your heating and cooling system adds another layer of convenience. Use a smartphone app to make adjustments from anywhere. Whether you’re at work or on vacation, you maintain command over your environment.
A learning thermostat adapts to your schedule, providing even more tailored comfort throughout the week.
Tools and Materials You Will Need

Gathering the right tools makes your installation easier. You’ll need a screwdriver, drill, level, and wire cutter/stripper to get started.
Screwdriver
A screwdriver is essential for installing a smart thermostat. You need it to remove screws from your old thermostat. Choose the right type, usually either flathead or Phillips. A multi-bit screwdriver can be handy too.
Using a screwdriver lets you handle the wiring easily during DIY installation. Securely fasten the new thermostat in place after connecting the wires. This step guarantees proper function and keeps everything safe in your heating and cooling control system.
Drill
Switching from the screwdriver to the drill is next. A drill helps create holes in your wall for mounting the new thermostat. It makes this part of the installation much easier.
Choose a drill bit that matches the size of your screws. Most smart thermostats come with specific screws you need for installation. Make sure to hold the drill steady while you work, and avoid applying too much pressure.
Using a level will help ensure that your new thermostat hangs straight and looks good on your wall. This step sets up everything nicely for an easy upgrade to a digital thermostat or installing a wifi thermostat later on.
Level
After using the drill, you need to ensure your new thermostat sits perfectly. Use a level to check its alignment on the wall. A correctly leveled thermostat guarantees accurate readings and efficient temperature control.
Position the level horizontally across the top of your device. Adjust it until this tool shows straight. This simple step updates your home with an energy-efficient thermostat installation that functions well in any smart home setup.
Wire cutter/stripper
A wire cutter/stripper is essential for installing a smart thermostat. Use it to cut and strip the wires that connect your old thermostat to your HVAC system. This tool helps create clean, tidy connections.
It ensures proper wiring during the energy-efficient thermostat installation or when replacing an old thermostat with a smart one.
Before you start, gather all necessary tools and materials. Now, let’s move on to preparing your existing thermostat for removal.
Step-by-Step Guide to Installing a Smart Thermostat

Installing a smart thermostat can boost your home’s comfort and efficiency. Follow this guide for easy steps to get it done right.
Prepare your existing thermostat for removal
Start by turning off the power to your HVAC system at the circuit breaker. This step ensures safety while you work on removing your thermostat. Next, take off the cover of your existing thermostat.
Most units will have a simple snap-on or screw-off cover.
Once exposed, note how the wires connect to your old thermostat. You can take a photo for reference later during installation. Carefully disconnect each wire from its terminal and label them with tape if necessary.
Finally, remove any mounting screws and pull the old unit away from the wall. This process prepares you for installing a smart device like a programmable thermostat seamlessly.
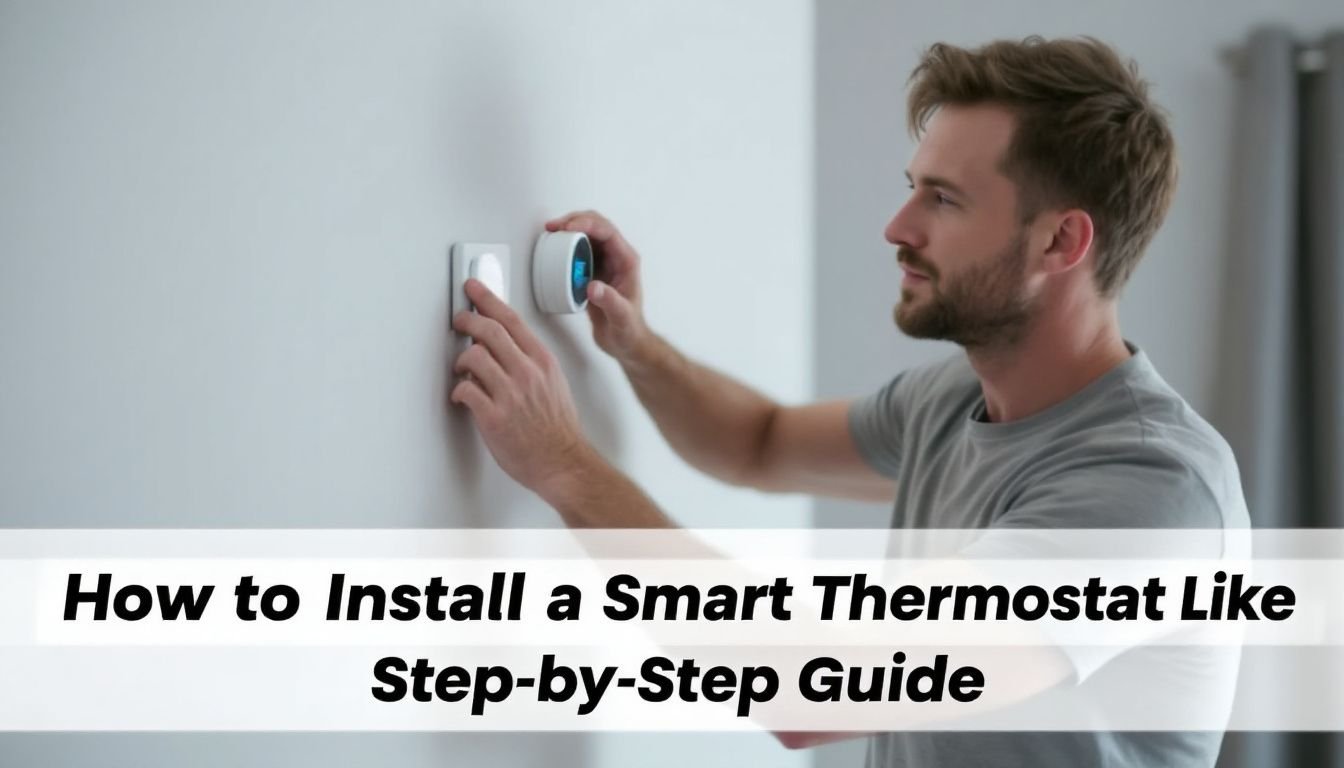
Install the new thermostat
After you prepare your existing thermostat for removal, it’s time to install the new thermostat. Begin by aligning the mounting plate with the wires from your wall. Guide each wire through its appropriate terminal on the plate.
Secure it tightly using a screwdriver to ensure a reliable connection.
Next, attach the faceplate of your smart thermostat. Most models simply snap into place or have screws that hold them securely. Power on your new device and follow any setup instructions that appear on the screen.
You will likely configure settings like Wi-Fi connection and preferences for energy-efficient operation during this stage. This installation elevates your home environment with greater control over its climate while maximizing comfort and savings.
Power on and configure
Power on your new smart thermostat by turning on the circuit breaker. The display should light up, showing options to set it up. Follow the on-screen instructions to connect your Wi-Fi and select preferences like temperature ranges and scheduling.
Configuring the device is straightforward. Use your smartphone app for easy access to settings. Adjust modes such as heating or cooling based on your needs. Some models even learn from your habits over time, making controlling your climate effortless and energy-efficient.
Enjoy a smart home thermostat that adapts automatically to keep you comfortable!
Optimize and customize
After you install the smart thermostat, take time to optimize and customize its settings. Adjust the temperature schedule according to your routine. Many models allow you to create different temperatures for day and night.
This can lead to significant energy savings by only heating or cooling when necessary.
Explore features like adaptive learning as well. Some devices learn your preferences over time and adjust automatically. Fine-tuning these settings helps in maximizing comfort and efficiency at home.
Troubleshooting common issues will ensure your system functions smoothly after installation.
Troubleshooting Common Issues

5. Troubleshooting Common Issues: You might face problems like a thermostat that won’t power on or strange temperature readings. Fixing these issues is often straightforward, but sometimes you may need an expert’s help to get it right.
For more tips on resolving common thermostat challenges, keep reading!
No power to thermostat
If your smart thermostat shows no power, check your wiring first. Loose or disconnected wires can cause this problem. Ensure that the display is lit up and functioning. A multimeter can help you test the voltage at the thermostat.
If there’s no reading, inspect your circuit breaker for any tripped switches.
Faulty transformers may also contribute to power issues in your system. They convert high voltage from the electrical panel down to low voltage used by thermostats. Replacing a bad transformer often fixes this issue quickly.
In cases where problems persist, contacting an HVAC professional might save time and effort during installation of a new thermostat or while troubleshooting other issues related to installing a climate control system.
Inconsistent temperature readings
Inconsistent temperature readings can be frustrating. Sometimes, a smart thermostat fails to register the correct temperature in your home. This issue often happens due to improper installation or sensor placement.
Ensure that you install the new thermostat in an area where it gets proper airflow and is away from drafts.
Check for wiring problems as well. If wires are loose or damaged, they might disrupt communication between the thermostat and HVAC system. Upgrading to a digital thermostat might help improve accuracy.
For persistent issues, consider consulting an HVAC professional for assistance with learning thermostat installation.
HVAC system not responding
Your HVAC system may not respond for several reasons. Check the power supply first. If your smart thermostat shows no signs of life, examine the circuit breaker. A tripped breaker can cut off power to your unit.
Loose wiring can also cause issues. Inspect all connections on your new thermostat and at the HVAC control board. Make sure each wire is securely attached and in the right place. Some people find success by resetting their thermostats during troubleshooting too.
With a quick restart, you might get everything working again smoothly.
If problems persist, consider calling a professional for help with electrical installation or setting up a smart home thermostat properly. They provide expertise that ensures optimal operation of your energy-efficient thermostat installation without unnecessary delays or frustration.
Benefits of working with an HVAC professional
HVAC issues can arise even after a DIY smart thermostat installation. Hiring an HVAC professional simplifies the process. These experts have the training to handle vahttps://darrelaffiliate.com/wp-content/uploads/2024/12/vintage-electrical-and-electronic-appliances-in-an-2023-11-27-05-10-10-utc-e1734923695564.jpgus systems safely and effectively.
They understand how to install a connected thermostat while ensuring everything works smoothly.
Working with professionals saves time and prevents costly mistakes. They can quickly identify issues like wiring problems or compatibility concerns between your new device and existing HVAC components.
You gain peace of mind knowing that a skilled technician manages your energy-efficient thermostat installation. This support ensures optimal performance from your system for years to come.
FAQs
1. What’s the first step in installing a smart thermostat like a pro?
The first step to installing a programmable thermostat is understanding your current system and choosing an energy-efficient model that suits your needs.
2. Can I install a connected thermostat myself, or do I need professional help?
While some people opt for professional installation, our step-by-step guide can assist you in installing a connected thermostat yourself, even if you’re not technically inclined.
3. How does installing an energy-efficient smart thermostat benefit me?
Installing an energy-efficient smart thermostat can save on heating and cooling costs by automatically adjusting temperature settings based on your routines and preferences.
4. Are there any safety precautions to take when installing a programmable thermostat?
Yes, it’s crucial to turn off the power supply before starting the installation process of your new smart device as outlined in our guide “How to Install a Smart Thermostat Like A Pro”.