3D Printing Made Easy: How to Start Printing in 3 Simple Steps

Many people find 3D printing confusing. This technology lets us turn digital models into real objects. Our guide will show you how to start 3D printing in three simple steps. Let’s get started!
Key Takeaways
- 3D printing, or additive manufacturing, builds objects layer by layer using CAD software and different materials like filament and resin.
- The process of 3D printing involves finding or making a model, preparing it for printing by slicing it into layers for the printer, and then starting the print job with the right settings.
- Essential tools for beginning in 3D printing include a reliable printer, filament (like PLA), slicing software to convert models into G-code, a build surface, and a scraper.
- Troubleshooting tips are vital for dealing with common issues such as filament jams, unlevel print beds, incorrect temperature settings, and poor layer adhesion.
- The history of 3D printing dates back to the 1980s with Chuck Hull’s invention of stereolithography. Today it’s accessible to hobbyists who can create custom projects from home.
What is 3D Printing?

3D printing creates three-dimensional objects from digital files. This process layers materials to build a design, transforming ideas into tangible items quickly and efficiently.
Explanation of 3D printing process
3D printing, or additive manufacturing, creates objects layer by layer. This process starts with a digital design made using computer-aided design (CAD) software. The printer then reads this design and lays down material to build the object from the bottom up.
Each layer fuses with the one below it, forming a solid structure.
The technology has advanced significantly since its inception in the 1980s. Today, hobbyists can easily access vahttps://darrelaffiliate.com/wp-content/uploads/2024/12/vintage-electrical-and-electronic-appliances-in-an-2023-11-27-05-10-10-utc-e1734923695564.jpgus printing materials like filament for plastic objects and resin for detailed designs.
Printing software streamlines this process by converting models into G-code, which guides printers effectively during operation.
Brief history of 3D printingThe beauty of 3D printing lies in its ability to turn ideas into reality.
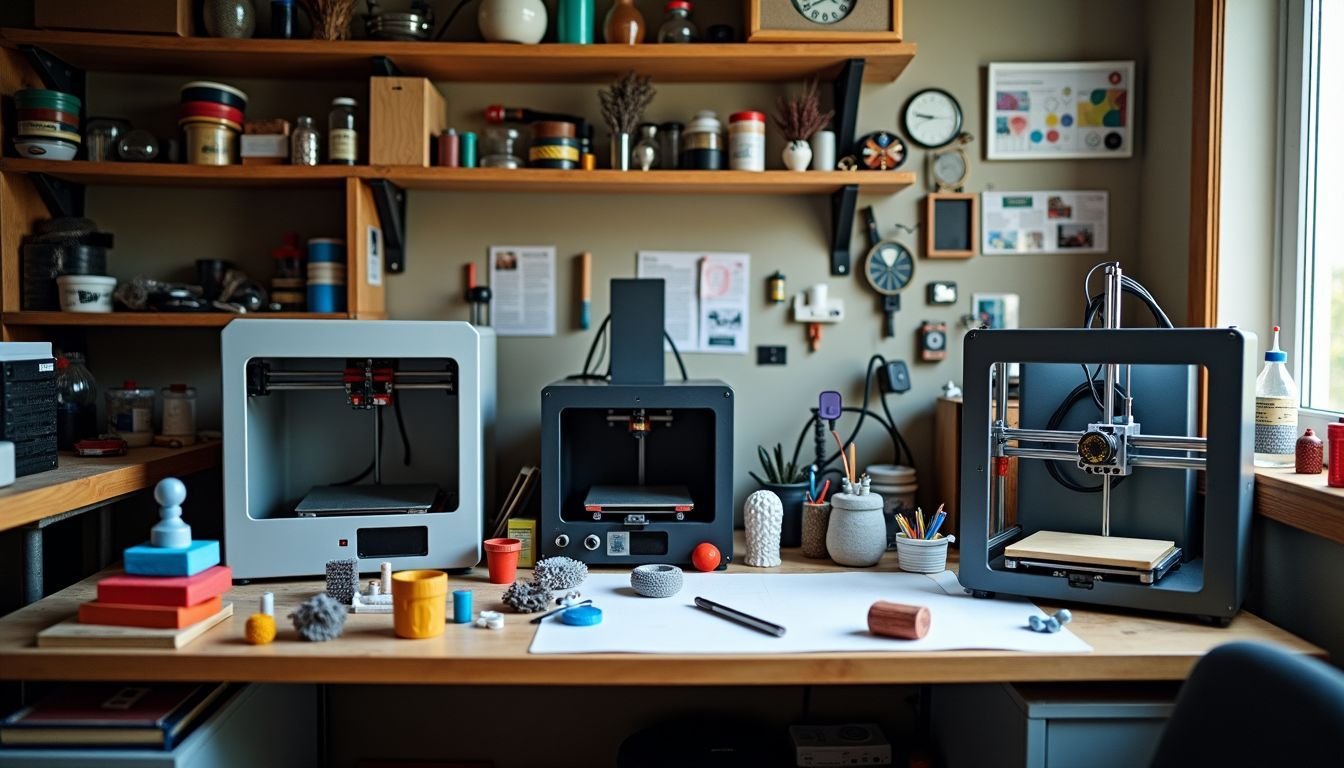
The history of 3D printing starts in the 1980s. Chuck Hull invented stereolithography in 1984. This process allowed users to create three-dimensional objects layer by layer. In the following years, other technologies emerged.
Fused deposition modeling (FDM) and selective laser sintering (SLS) became popular methods by the early 1990s.
Throughout the late 1990s, industries began using this technology for rapid prototyping. Companies recognized its potential for reducing time and costs in prototype development. By the new millennium, enthusiasts saw opportunities for hobbyist projects.
Open-source designs flourished online, making it easier for beginners to access tools like CAD software and D printing setups. Today, many people use digital fabrication techniques at home or in service bureaus, which support diverse D printing ideas and projects.
Steps to Successfully 3D Print

To successfully 3D print, you need to follow some clear steps. First, choose or create a model that fits your project needs. Next, prepare the model by slicing it into layers and generating G-Code for your printer.
After that, ensure your printer is ready and start the printing process. Each step plays a crucial role in achieving great results with 3D printing.
Find/Make a Model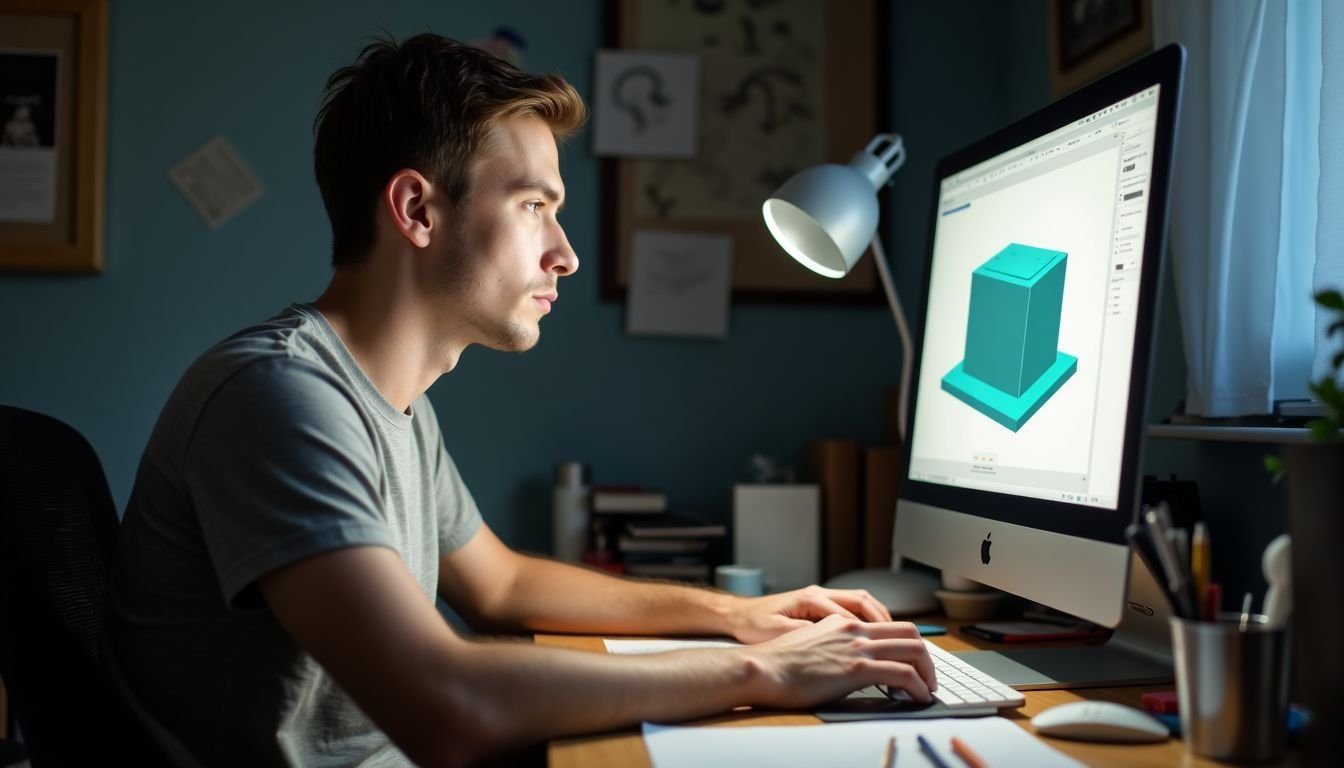
Finding or creating a 3D model is the first step in the 3D printing process. You can browse online repositories like Thingiverse to discover free models. Many hobbyists share their designs there.
If you prefer, you can create your own using computer-aided design (CAD) software like Tinkercad or Fusion 360.
Making a custom model allows for unique projects that fit your needs precisely. Start with simple shapes and gradually move to complex designs as you gain experience. After finalizing your model, prepare it for slicing before sending it to the printer.
This preparation ensures that your project follows all necessary guidelines for successful printing.
Prepare the Model for Printing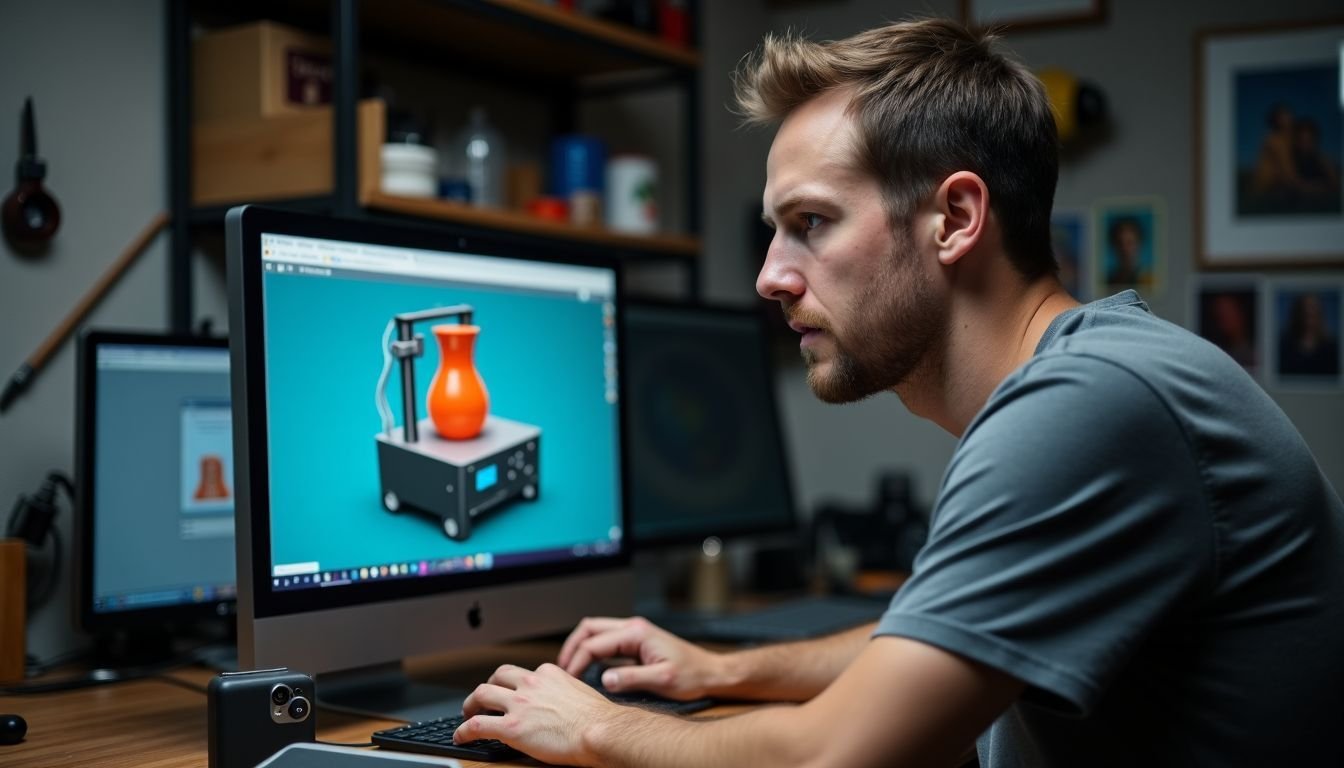
After you find or make your model, it’s time to prepare it for printing. First, open the file in your slicing software. This program converts your 3D model into G-Code that the printer can understand.
Check the dimensions of your model before proceeding. Make sure it fits within your printer’s build area. Adjust the size if needed. Next, choose the right settings for layer height and print speed based on your project needs.
Finally, save the G-Code to an SD card or send it directly to the printer for a smooth printing process.
Upload G-Code to 3D Printer
Uploading G-Code to your 3D printer is a straightforward step. First, connect your printer to your computer or insert an SD card containing the G-Code file. This file contains instructions for the printer on how to create your model layer by layer.
Once the connection is established, select the appropriate G-Code from your device’s display screen. You might see different options like speed settings and temperatures as well. Adjust these parameters if necessary before starting the print job.
Now you are ready to prep the printer and begin printing!
Prep the Printer
Prep the printer before starting your 3D printing project. Clean the build plate to ensure that models stick well during printing. Level the bed using its adjustment screws, so it stays even with the nozzle.
Choose a suitable filament based on your project needs, like PLA or ABS.
Load the filament into the extruder and set the correct temperature for it. Check that no debris blocks the nozzle and ensure that everything is secure. Test print a small object first to confirm everything works properly.
Following these steps will help you avoid common issues in 3D printing for beginners and make your projects run smoothly.
Start the Print Job
After preparing your 3D model, it’s time to start the print job. Load the G-code into your 3D printer. This code tells the printer how to create each layer of your design.
Position your materials correctly before clicking “Start.” Ensure everything is set for a successful print job. Watch as the printing technology begins its work, layer by layer.
Each moment brings you closer to seeing your project come alive in three dimensions. Enjoy this exciting process!
Must-Have Supplies & Tools
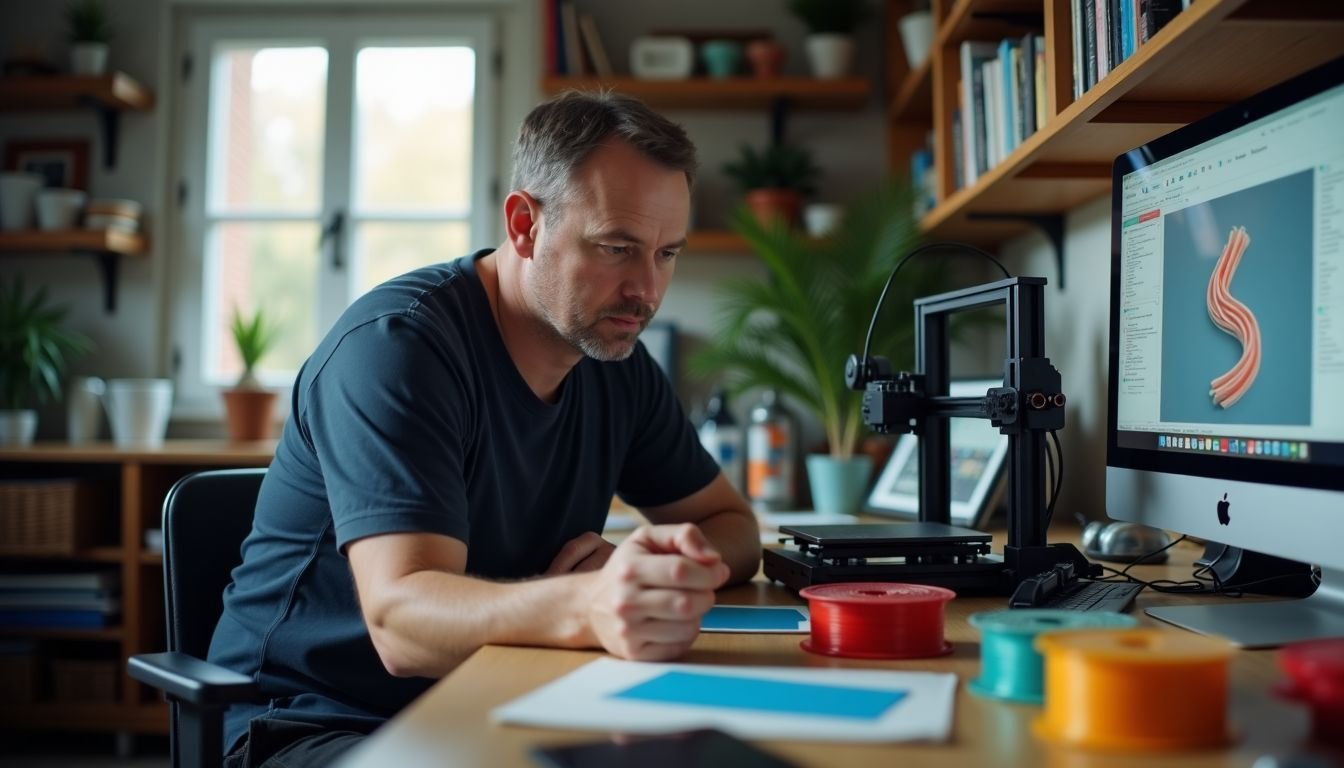
You’ll need a few essential supplies to get started with 3D printing. Basic tools like filaments, a slicing software, and a reliable printer will set you up for success.
List of necessary equipment
To start your 3D printing journey, gather a few essential supplies. You need a reliable 3D printer. Popular options for beginners include FDM (Fused Deposition Modeling) printers because they are user-friendly and affordable.
You’ll also require filament, which is the material used to create your models. PLA (Polylactic Acid) works well for most projects due to its ease of use.
Consider having a build surface as it helps with adhesion and prevents warping during prints. A spatula or scraper can assist in removing finished objects from the build plate. Lastly, download slicing software to convert your model into G-Code format before uploading it to the printer.
These items will give you a solid foundation in 3D printing projects while keeping frustrations at bay. Next, we’ll look at troubleshooting tips and tricks that can help smooth out any bumps along the way.
Troubleshooting tips and tricks
Troubleshooting can feel tricky, but a few tips help. First, ensure the filament loads correctly. If it jams, remove it and clean the extruder. Check the printer’s bed level as well; an unlevel bed often leads to poor adhesion.
Next, monitor your print temperature. Too hot or too cold affects quality. Adjusting settings in your slicing software can improve results quickly. Keep an eye on layer adhesion as well; good layers stick together better for solid prints.
With these tricks at hand, you can tackle common issues easily.
Now that you’re set with troubleshooting tips and tricks, let’s move on to must-have supplies and tools for 3D printing.
Conclusion
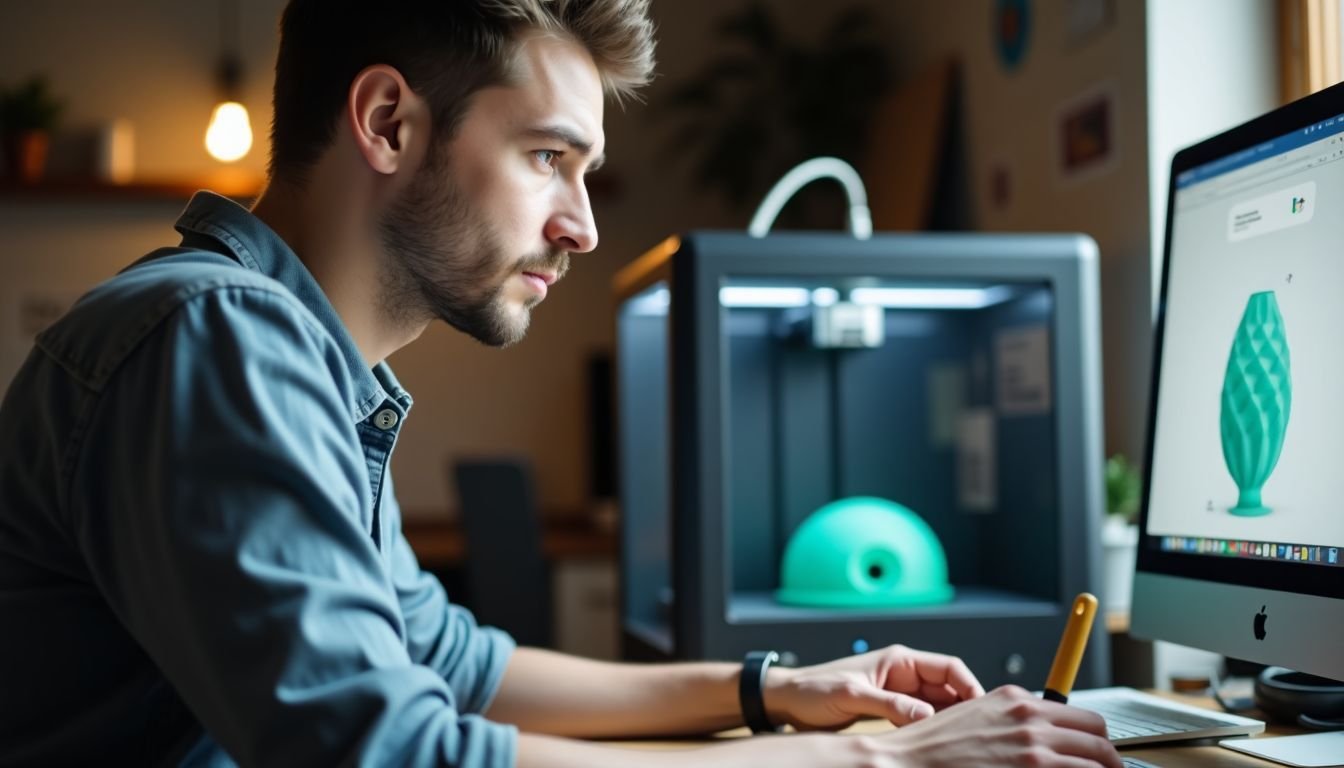 3D printing opens new doors for creativity. Start with these simple steps to bring your ideas to life. Gather a model, prep it, and send it to the printer. Keep essential tools handy for smooth printing.
Enjoy exploring this exciting technology!
FAQs
1. What are the basic steps to start 3D printing for beginners?
The three simple steps to begin with 3D printing are understanding the basics, choosing a design using computer-aided design (CAD) software, and starting the layer-by-layer printing process.
2. Can hobbyists use this guide for their 3D printing projects?
Yes, this guide on ‘3D Printing Made Easy: How to Start Printing in 3 Simple Steps’ is perfect for hobbyists as it covers all aspects of the 3D printing process.
3. Do I need any special accessories or software for 3D printing?
Yes, you’ll need specific tools like a CAD program to create designs, and certain accessories may be required during post-processing after your object has been printed.
4. Is there any post-processing involved in the 3D printing process?
Absolutely! Postprocessing is an important part of completing your project once your item has been printed layer by layer from the printer.
5. Where can I find more information about different types of D-printing processes?
This guide provides essential insights into vahttps://darrelaffiliate.com/wp-content/uploads/2024/12/vintage-electrical-and-electronic-appliances-in-an-2023-11-27-05-10-10-utc-e1734923695564.jpgus facets of D-printing including creating designs using CAD software and executing layer-by-layer prints.