Proper Way to Clean a Mouse – Step-by-Step Guide
Are you tired of a grimy, unresponsive mouse? Keeping your computer mouse clean is key for top performance and hygiene. In this guide, I’ll show you how to clean different mice types. You’ll learn to make your mouse smooth and clean again.
Key Takeaways
- Learn the specific cleaning methods for vahttps://darrelaffiliate.com/wp-content/uploads/2024/12/vintage-electrical-and-electronic-appliances-in-an-2023-11-27-05-10-10-utc-e1734923695564.jpgus mouse types, including optical, trackball, gaming, and vertical mice.
- Discover the essential tools and materials needed for thorough mouse cleaning, such as compressed air, alcohol wipes, and lint-free cloths.
- Understand the importance of regular mouse maintenance for optimal performance and hygiene.
- Gain tips on troubleshooting common cleaning issues and when to seek professional assistance.
- Explore strategies to keep your mouse clean and well-maintained for the long haul.
Why Regular Cleaning is Important
Keeping your mouse clean is key for your health and its performance. Cleaning your mouse stops germs from building up, which can cause infections. A clean mouse also means better tracking and button response, making your computer use smoother.
Health Benefits of a Clean Mouse
Computer mice can have a lot of bacteria, even more than public restrooms. Cleaning your mouse regularly gets rid of these germs. This helps prevent the spread of illnesses and infections, keeping you healthy.
Maintaining Mouse Performance
A clean mouse looks good and works better. Dust and debris can slow down tracking and make buttons sticky. Regular cleaning keeps your mouse working well, lasting longer, and giving you a better experience.
Wired or wireless mice need different cleaning methods. Following the maker’s advice or a detailed guide helps keep your mouse in top shape.
Tools You’ll Need for Cleaning
To keep your computer mouse in great shape, you need the right tools and methods. Let’s explore the key items for cleaning your mouse well and keeping it working its best.
Microfiber Cloths
Microfiber cloths are a big help for cleaning your mouse. They are soft, don’t leave lint, and remove dust, fingerprints, and smudges without harming your mouse.
Isopropyl Alcohol
Isopropyl alcohol, or rubbing alcohol, is great for getting rid of tough dirt and cleaning your mouse. Make sure it’s 70% or less to avoid harming your mouse’s inside parts.
Cotton Swabs
Cotton swabs are great for getting into tight spots, like around the scroll wheel and buttons. They let you apply cleaners carefully and remove dust or dirt.
You might also want to have these extra items:
- Compressed air to blow out dust and particles
- Lint-free cloths for a final polish
- Toothpicks or spudgers to remove stuck dirt
- A mild soap solution for a deeper clean, if needed
Don’t use ammonia-based cleaners, as they can harm your mouse. With these tools, you’ll be ready to mouse cleaning techniques and disinfecting computer mouse effectively.
“Regular cleaning is the key to keeping your mouse functioning at its best. A clean mouse not only looks better but also performs better and lasts longer.”
Preparing Your Mouse for Cleaning
Before you start cleaning, make sure your mouse is ready. This step helps you clean it well without any problems. Let’s look at the key steps to prepare your mouse for cleaning.
Disconnecting the Mouse
First, disconnect your mouse from power. For wired mice, just unplug the USB from your computer. For wireless mice, take out the batteries. This is important to avoid electrical issues while cleaning.
Removing Any Surface Debris
Then, use compressed air to blow away loose debris. Hold the mouse upside down and gently tap it to remove stubborn dirt. Make sure you have a clean, dry surface before you start cleaning.
By preparing your mouse well, you’ll get a deep clean. This keeps your device in great shape and working well. Now, let’s move on to the cleaning steps!
How to Clean the Extehttps://darrelaffiliate.com/wp-content/uploads/2024/12/vintage-electrical-and-electronic-appliances-in-an-2023-11-27-05-10-10-utc-e1734923695564.jpgr of the Mouse
Keeping your mouse clean is key to its performance and longevity. Regular cleaning removes dirt, dust, and grime. This ensures your mouse works well and stays fresh. Here’s a simple guide to clean your mouse’s extehttps://darrelaffiliate.com/wp-content/uploads/2024/12/vintage-electrical-and-electronic-appliances-in-an-2023-11-27-05-10-10-utc-e1734923695564.jpgr.
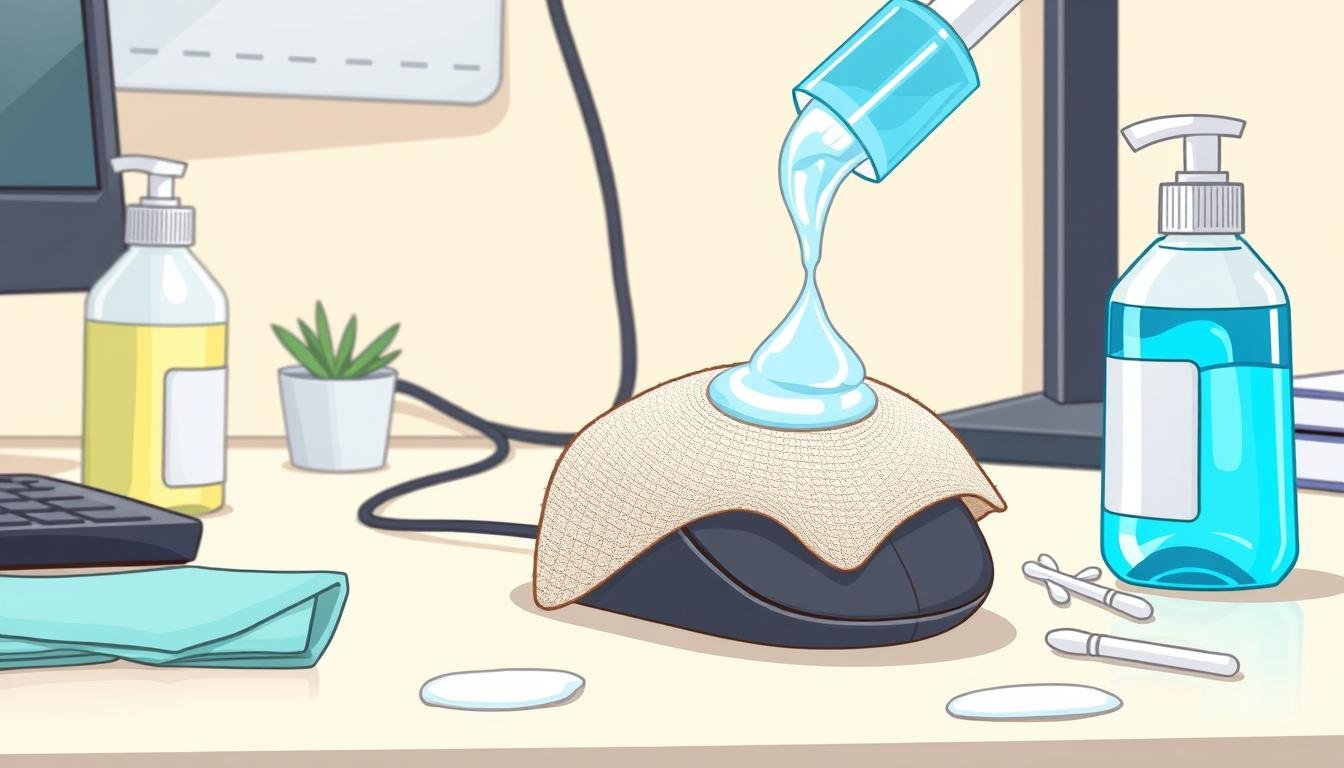
Wiping Down Surfaces
First, unplug your mouse. Then, use a damp microfiber cloth to wipe it down. Clean the top, sides, and bottom gently. Make sure not to let water get inside, as it can harm the mouse’s electronics.
Cleaning the Buttons
Focus on the mouse buttons, as they collect dirt easily. Use a dry cotton swab or toothpick to clean around the buttons. Be gentle to avoid damaging the switches.
Pay Attention to the Scroll Wheel
The scroll wheel needs extra care. Rotate it while cleaning with a microfiber cloth. For tough dirt, use a toothpick or soft-bristle brush.
After cleaning the surfaces, use compressed air to get rid of dust in hard spots. This ensures your mouse is thoroughly clean.
Regular cleaning keeps your mouse in top shape. Spend a few minutes every few weeks to clean it. This way, your mouse will stay in great condition and offer a smooth experience.
Cleaning the Mouse Sensor
As a gamer or computer user, keeping your mouse clean is key. It ensures your mouse works well and accurately. Cleaning the sensor, the mouse’s core, gets rid of dust and debris. This makes your gaming better, work more efficient, and your mouse last longer.
Locating the Sensor
First, find where the sensor is. It’s usually on the mouse’s underside, near the middle. Just flip your mouse over and look closely to find it.
Using a Cotton Swab
Now, clean the sensor. Dampen a cotton swab with a bit of isopropyl alcohol, but don’t soak it. Gently rub the swab over the sensor. This removes dust without harming the mouse.
Inspecting for Dust and Debris
Check the sensor area after cleaning. If dust remains, use compressed air to blow it away. This ensures the sensor works perfectly.
Deep cleaning your mouse’s sensor makes it work better. It’s important to clean it regularly. This keeps your mouse in great shape for gaming and work.
Dealing with Sticky Buttons and Wet Spots
Keeping your mouse in top shape is key for your health and its performance. Sticky buttons or wet spots can really mess with your mouse’s feel and use. But, with the right cleaning steps, you can fix these issues and make your mouse look new again.
Identifying the Problem Areas
Start by checking your mouse for sticky or wet spots. Look for buttons or surfaces that don’t feel right or are sticky. The scroll wheel is often where dirt builds up, causing stickiness.
Applying the Right Cleaning Solution
- Make a cleaning mix with isopropyl alcohol and water. Use at least 70% isopropyl alcohol to get rid of tough dirt and grime.
- Soak a clean, lint-free cotton swab in the mix, but don’t soak it too much. Too much liquid can harm your mouse.
- Wipe the sticky areas gently. Be careful not to press too hard or let liquid get inside your mouse.
- If the stickiness doesn’t go away, you might need to take apart your mouse. Follow the maker’s guide to clean each part well.
Regular care and cleaning can make your mouse last longer and work better. Fixing sticky buttons and wet spots quickly keeps your workspace clean and your mouse working well. This makes your computer time more fun.

How to Clean Wireless Mouse Batteries
Keeping your wireless mouse in top shape is crucial. Cleaning the batteries and battery compartment is a key part of this. By following these steps, your mouse will work better and last longer.
Removing the Batteries Safely
Start by safely taking out the batteries. Open the battery compartment carefully to avoid damage. Then, remove the batteries without touching the contacts together.
Wiping Down Battery Contacts
Now, use a dry cloth or cotton swab to clean the contacts. This removes dirt and corrosion, ensuring good electrical flow. Don’t use liquids, as they can harm your mouse.
If there’s tough grime, use a cotton swab with isopropyl alcohol (70% or higher). Clean the contacts gently. Make sure the compartment is dry before putting the batteries back in.
| Cleaning Tip | Benefit |
|---|---|
| Use a dry, lint-free cloth or cotton swabs to wipe down battery contacts | Removes corrosion and debris for optimal electrical conductivity |
| Lightly dampen a cotton swab with isopropyl alcohol (70% or higher) for stubborn grime | Effectively cleans and disinfects battery contacts |
| Allow the battery compartment to dry completely before reinstalling batteries | Prevents moisture damage to internal components |
By cleaning your mouse’s battery compartment, you keep it running smoothly. Regular mouse maintenance and deep cleaning are essential for a long-lasting mouse.
Refurbishing the Mouse Feet
Keeping your mouse clean is more than just the outside. The mouse feet, or skates, are key for smooth movement and accuracy. They can wear down or get dirty, which affects your mouse’s feel and performance. It’s important to take care of them as part of mouse cleaning techniques and mouse maintenance.
Checking the Condition of Mouse Feet
First, check your mouse feet for wear. Look for scratches, cracks, or a rough feel. If they’re damaged, it’s time for a replacement. Some mice come with spare feet for easy swapping.
Cleaning or Replacing Mouse Skates
If your feet are still in good shape, clean them. Use a cotton swab with isopropyl alcohol to remove dirt. But be gentle to avoid damaging the adhesive.
If cleaning doesn’t work, it’s time for new feet. Check your mouse’s manual or online for the right replacement. Attaching them correctly is key for your mouse’s performance.
Regularly check, clean, and replace your mouse feet to keep your mouse in top shape. This simple step can make your mouse last longer and improve your gaming or work experience.
Reassembling Your Mouse
After cleaning your mouse, it’s time to put it back together. Make sure all parts are dry before you start. This usually takes 5-10 minutes after cleaning.
If you took the mouse apart, follow the steps in reverse to reassemble it. This will help you put everything back in the right place.
Ensuring Everything Is Dry
Be patient when drying the mouse parts. Give them enough time for the cleaning solution to dry completely. If you rush, you might get sticky buttons or a faulty sensor.
A dry mouse works best. So, let it dry fully before using it again.
Reconnecting and Testing
When the mouse is dry, connect it to your computer or put in the batteries for wireless models. Take your time to make sure everything fits right and is secure.
After putting it back together, test the mouse. Check the buttons, scroll wheel, and sensor. Make any needed adjustments until it works perfectly.

By following these steps, you can confidently reassemble your mouse. This will keep it working well for years. Regular cleaning and proper reassembly are key.
Maintenance Tips to Keep Your Mouse Clean
Keeping your mouse clean is key for mouse hygiene and performance. Regular cleaning and best practices help stop germ buildup on mouse surfaces. This ensures your mouse works well.
Regular Cleaning Schedule
Cleaning your mouse every 1-2 months is usually enough. But, you might need to clean it more often if you use it a lot. Things like your environment, how much you use the mouse, and spills can affect how often you need to clean it.
Best Practices for Prevention
- Wash your hands before using the mouse to avoid transferring oils and dirt.
- Don’t eat or drink near your mouse to avoid spills.
- Use a clean mouse pad to keep dust and debris away.
- Wipe the mouse with a dry, microfiber cloth to remove dirt and smudges.
- Keep your workspace clean and organized to reduce dust and particles on the mouse.
By sticking to these mouse hygiene tips, you can make your mouse last longer. This prevents germ buildup on mouse surfaces, giving you a better user experience.
“Proper mouse maintenance is the key to preserving its performance and extending its lifespan. A clean mouse not only looks better but also operates more efficiently.”
| Cleaning Supplies | Recommended Ratio |
|---|---|
| Microfiber Cloth | 1 per mouse |
| Isopropyl Alcohol | 1 bottle per 10 mice |
| Cotton Swabs | 4 per mouse |
Troubleshooting Common Cleaning Issues
Even with the best cleaning practices, you may still face stubborn grime or performance issues with your mouse. Don’t worry, there are a few troubleshooting steps you can take to address these common cleaning challenges.
Removing Stubborn Grime
For those persistent dirt and grease stains, try using a slightly more dampened cloth with a mild soap solution. Gently rub the affected areas, being careful not to oversaturate the mouse. Avoid using harsh chemicals or abrasives, as they can damage the delicate mouse surface. If the stains persist, you may need to let the cleaning solution sit for a few minutes before wiping it away.
When to Seek Professional Help
If your mouse is not responding correctly or you’re dealing with a high-end gaming mouse like a Razer, it’s best to consider seeking professional assistance. Some issues may require internal repairs or maintenance that go beyond basic cleaning. Additionally, if your mouse is still under warranty, it’s essential to consult the manufacturer before attempting any advanced cleaning or repairs, as this could potentially void the warranty.
By following these troubleshooting tips and knowing when to seek professional help, you can keep your mouse in top shape and ensure it continues to perform at its best. Remember, regular mouse cleaning techniques and proper mouse maintenance are essential for prolonging the life and functionality of this essential computer accessory.