How to Clean a Mouse: Step-by-Step Cleaning Guide
Ever thought about the bacteria on your computer mouse? Studies show keyboards have more bacteria than toilet seats! It’s key to clean your mouse often for best performance and hygiene. This guide will show you how to clean vahttps://darrelaffiliate.com/wp-content/uploads/2024/12/vintage-electrical-and-electronic-appliances-in-an-2023-11-27-05-10-10-utc-e1734923695564.jpgus mice, like optical, trackball, gaming, and wireless ones.
Cleaning your mouse might seem boring, but it’s really important. It makes your computer work better and keeps you healthy. A clean mouse means better tracking and smoother movement. Plus, it stops harmful bacteria from growing.
Key Takeaways
- Regularly cleaning your mouse is crucial for optimal performance and hygiene.
- Cleaning supplies needed include compressed air, lint-free cloth, toothpick or spudger, and alcohol wipes.
- Cleaning techniques vary depending on the mouse type, such as optical, trackball, gaming, vertical, or Apple Magic Mouse.
- Proper disconnection, debris removal, and internal component cleaning are essential steps.
- Disinfecting your mouse can help eliminate harmful bacteria and prevent the spread of illnesses.
Why It’s Important to Clean Your Mouse
Keeping your computer mouse clean is key for its performance and health. Your mouse is used a lot, picking up dirt, dust, and bacteria. If you don’t clean it, it can cause problems with how it works and your computer experience.
Benefits of a Clean Mouse
A clean mouse means better tracking and button clicks. Cleaning it regularly keeps it working well. This makes you more productive, as you won’t have to deal with cursor problems.
Health Considerations
In places where many people use the same mouse, it can get very dirty. Research shows office mice can have more bacteria than clean ones. Cleaning your mouse helps stop the spread of germs, especially in shared spaces.
Improving Performance
Good computer mouse maintenance makes it last longer. Cleaning out dust and dirt stops problems like sticky buttons. A clean mouse means you won’t have to replace it as often, saving you money and time.
“Regular cleaning of your computer mouse is essential for maintaining optimal performance and ensuring a hygienic work environment.”
What You’ll Need for Cleaning
Keeping your mouse clean is key for its best performance and your computer use. To clean well, you’ll need some important supplies.
Essential Cleaning Supplies
- A clean work surface
- Compressed air
- Lint-free cloth
- Toothpick or spudger
- Alcohol wipes (70% or less isopropyl alcohol)
Compressed air helps get rid of dust and dirt in tight spots. A lint-free cloth prevents adding more dirt. Use toothpicks or spudgers for tough dirt. Alcohol wipes are safe and effective for cleaning the mouse’s surfaces.
Optional Tools for Deep Cleaning
For a deeper clean, you might want these extra tools:
- Screwdriver (for disassembling the mouse, if necessary)
- Tweezers (for removing debris from sensitive areas)
While basic supplies work for regular cleaning, a screwdriver and tweezers are useful for deeper cleaning. Be careful when taking apart your mouse. Always follow the maker’s instructions.
When cleaning your mouse, use the right products and methods to avoid damage. Avoid ammonia-based cleaners, as they can harm the mouse. Instead, use mild soap and water or 70% or less isopropyl alcohol wipes for a safe clean.
Preparing Your Mouse for Cleaning
Before you start cleaning your mouse, make sure it’s ready. First, turn off your mouse. For wired mice, just unplug it. If it’s wireless, take out the batteries.
This step is key for safety and a good clean.
Disconnecting from Power
Turning off your mouse is a must. It keeps you safe and lets you clean without worry. You won’t have to worry about turning it on by accident.
Removing Accessories or Attachments
Some mice, like gaming ones, have extra parts. Check your mouse’s manual to see how to remove them. This makes cleaning easier by getting to all the hidden spots.
By preparing your mouse right, you can clean it better. This care ensures your mouse works well and lasts longer.
“A clean mouse is a happy mouse, and a happy mouse means a productive you.”
Cleaning the Extehttps://darrelaffiliate.com/wp-content/uploads/2024/12/vintage-electrical-and-electronic-appliances-in-an-2023-11-27-05-10-10-utc-e1734923695564.jpgr
Keeping your mouse clean is key for it to work well and last longer. Dirt, grime, and bacteria can slow down your mouse. They can also affect your health.
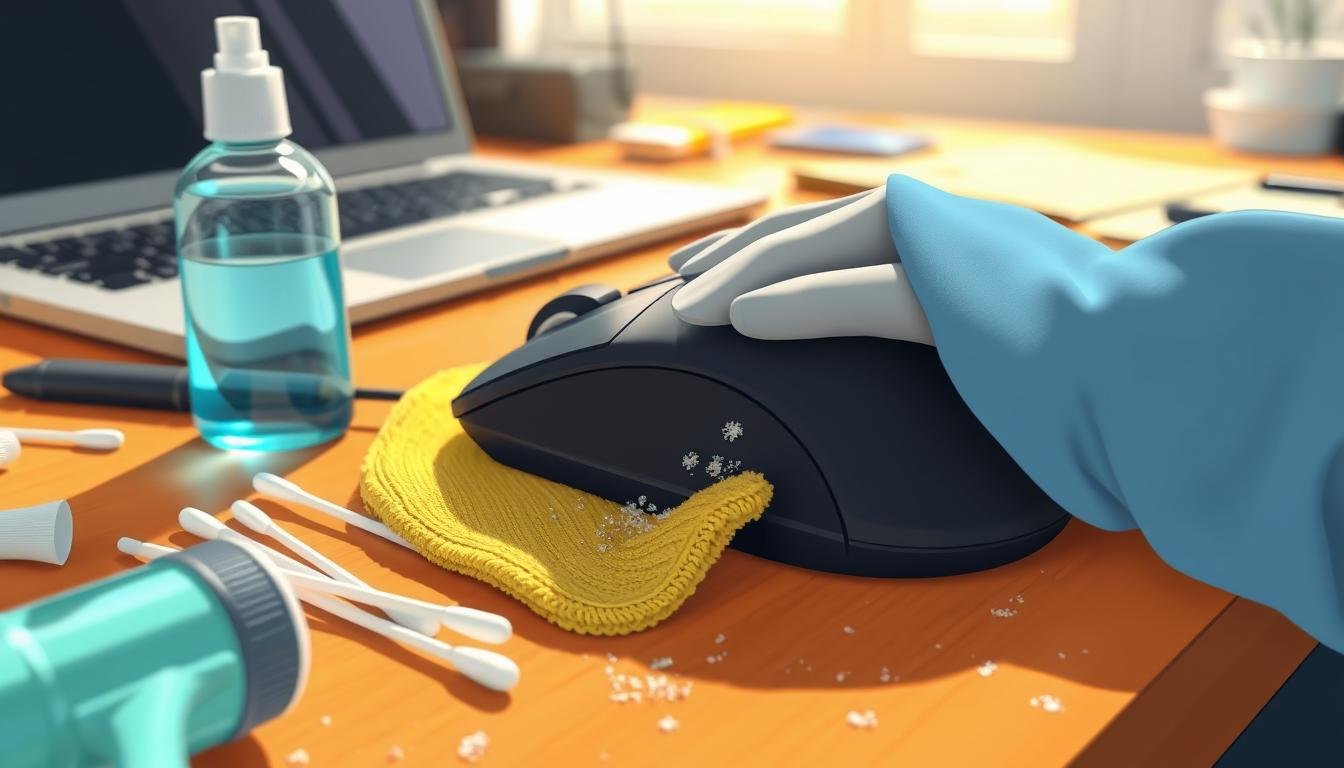
Wiping Down Surfaces
Begin by using a soft, damp cloth or cotton swabs with mild soap and water. Gently wipe the mouse’s outside. Make sure not to let water get inside, as it could harm the mouse’s parts.
Tackling Stubborn Stains
For tough stains or grime, use a toothpick or soft-bristled brush. Gently clean the mouse’s tight spots. Don’t press too hard to avoid scratching.
Cleaning the Scroll Wheel
To clean the scroll wheel, rotate it while wiping it with a damp cloth or swabs. This removes dust and debris that might slow it down.
For light-colored mice, a bit of isopropyl alcohol on a cotton swab can help. It disinfects and removes stains. But be careful not to let alcohol get inside the mouse.

By following these steps, you can keep your mouse clean and in good shape. Regular cleaning is important for a clean gaming setup. It also improves your gaming experience.
Cleaning the Mouse Feet
The mouse feet, also known as mouse skates or glide pads, are key for smooth mouse movements. Keeping them clean is vital for your mouse’s performance and longevity.
Importance of Mouse Feet Maintenance
The mouse feet help your mouse glide smoothly over surfaces. Over time, they can get dirty, affecting your mouse’s performance. Cleaning them regularly is crucial for the best tracking and to avoid problems.
How to Clean or Replace Mouse Feet
- Use a clean, slightly damp cloth to gently wipe down the mouse feet, removing any built-up dirt or grime.
- For stubborn stains, you can apply a small amount of rubbing alcohol to the cloth, as it quickly evaporates and leaves no residue.
- If the mouse feet appear excessively worn or damaged, consider replacing them. Many gaming mice come with spare sets of replacement feet for this purpose.
- When selecting replacement feet, ensure they are compatible with your specific mouse model to maintain optimal performance and glide characteristics.
- PTFE (Teflon) mouse feet are often preferred for their durability and low-friction properties.
Keeping your mouse feet clean is easy and greatly improves your mouse’s feel and performance. By following these simple steps, your mouse will glide smoothly and work as it should.
| Cleaning Tip | Benefit |
|---|---|
| Regularly clean mouse feet with a damp cloth | Removes built-up dirt and debris, maintaining smooth glide |
| Use rubbing alcohol for stubborn stains | Effectively cleans without leaving residue |
| Replace worn or damaged mouse feet | Ensures consistent tracking and performance |
| Choose PTFE (Teflon) replacement feet | Offers low-friction and durable properties |
Dealing with Dust and Debris in Openings
Keeping your mouse clean is key for top performance. This is true whether you’re gaming, working, or just browsing. Focus on the dust and debris in openings and crevices when cleaning your mouse.
Identifying Problem Areas
The usual spots for dust and debris are around the buttons, scroll wheel, and sensor. These small areas can get clogged with dirt, hair, and other stuff. This can mess up your mouse’s smooth operation and response.
Using Compressed Air Effectively
Grab a can of compressed air to solve this problem. Hold the can upright and use short, controlled bursts to clean out dust and debris. But be careful not to spray air into openings that could harm the mouse’s inside parts.
For optical mice, clean the cleaning mouse sensor with care. Use the compressed air to gently remove dirt from mouse that might be messing with the tracking.
“Regular cleaning of your mouse with compressed air can help maintain its performance and extend its lifespan.”
Using compressed air to clean out dust and debris ensures your mouse tracks smoothly and accurately. It also helps avoid problems caused by a dirty mouse.
Disinfecting Your Mouse
Keeping your computer mouse clean is key for your health and your device’s performance. Sanitizing your mouse gets rid of harmful bacteria and stops illnesses from spreading. By using good mouse hygiene, you can have a healthier time computing.
Choosing the Right Disinfectant
For cleaning your mouse, pick a gentle yet strong solution. Isopropyl alcohol, diluted to 70% or less, is perfect. It kills germs without harming your mouse’s parts. Stay away from harsh chemicals or too much liquid that could damage your mouse.
Proper Techniques for Disinfection
- Use a soft, lint-free cloth with the isopropyl alcohol solution, not directly on the mouse.
- Wipe down the mouse’s surfaces, focusing on areas like buttons and scroll wheels that get touched a lot.
- Let the surfaces dry completely in the air before you use your mouse again.
By following these easy steps, you can clean your computer mouse well. Regularly disinfecting your mouse and other computer parts keeps your workspace healthy. This helps stop illnesses from spreading and makes your workspace better.
“Rodents carry vahttps://darrelaffiliate.com/wp-content/uploads/2024/12/vintage-electrical-and-electronic-appliances-in-an-2023-11-27-05-10-10-utc-e1734923695564.jpgus diseases infectious to humans including Hantavirus, Lyme disease, Salmonella, and Typhus.”
Disinfecting your mouse is important for a clean and healthy computing area. Using the right disinfectant and proper methods keeps your mouse safe and reliable for your daily tasks.
Cleaning Wired vs. Wireless Mice
When it comes to computer mouse maintenance and cleaning, wired and wireless mice are different. Knowing these differences helps keep your mouse working well, whether it’s connected or not.
Disconnecting for a Deeper Clean
Cleaning a wired mouse is easy. Just unplug it first. This lets you clean every part without harming any electronics. Wireless mice need more care. You must take out the batteries to clean the battery area and charging ports well.
Safeguarding Wireless Connectivity
When cleaning a wireless mouse, focus on the battery area and charging ports. Use a soft cloth or compressed air to remove dust. Avoid liquids, as they can harm the mouse’s wireless connection or damage it. Wired mice also need careful cleaning around the cable to work best.
“Proper mouse maintenance is key to ensuring a seamless and responsive user experience, whether your input device is wired or wireless.”
Knowing how to clean wired and wireless mice properly keeps them in great shape. Regular cleaning is key to keeping your mouse working well for a long time.

Deep Cleaning the Mouse Internally
Regular cleaning is key for your mouse’s health. But sometimes, a deeper clean is needed. This means taking apart your mouse to clean inside. Do this only when your mouse really needs it, like if it’s not working well or looks dirty.
When and Why to Open Your Mouse
Opening your mouse for a deep clean is sehttps://darrelaffiliate.com/wp-content/uploads/2024/12/vintage-electrical-and-electronic-appliances-in-an-2023-11-27-05-10-10-utc-e1734923695564.jpgus. It’s best to avoid it unless it’s really dirty or broken. Always check your mouse’s manual first. Different mice need different care when taken apart.
Steps to Disassemble Your Mouse
- First, unplug or turn off your mouse to keep it safe.
- Then, find and remove the screws that hold it together.
- Next, carefully split the mouse in two, being gentle with the inside.
- With the mouse open, you can see and clean the inside parts.
Cleaning Internal Components Safely
When cleaning inside your mouse, be very careful. Use a soft cloth or compressed air to remove dust. Never use liquids or strong cleaners, as they can harm the electronics. Be extra careful with the circuit board and sensor.
“Disassembling your mouse for a deep clean should be a last resort. Stick to external cleaning methods whenever possible to avoid the risk of damage to your device.”
Opening a fancy or gaming mouse can be tricky. If you’re not sure you can do it right, it’s safer to ask for help or get a new mouse.
Reassembling Your Mouse
After cleaning your mouse, it’s time to put it back together. This step-by-step guide helps ensure everything fits right. Your mouse will work perfectly again.
Ensuring Everything Is in Place
Start by attaching the mouse’s internal parts, like the sensor or circuit board, in reverse order. Make sure each part fits perfectly, with no gaps. This careful step keeps your mouse maintenance at its best.
Final Checks Before Usage
Before plugging in your mouse, check it over. Look for any debris that might have gotten in during reassembly. If everything looks good, plug it in and test it. This way, you know your mouse is ready for use.
“Attention to detail during the reassembly process is the key to maintaining a clean and high-performing mouse.”
Regular cleaning and care can make your mouse last longer. It saves you time and money. A few minutes of effort can mean years of smooth mouse use.
Tips for Maintenance After Cleaning
Keeping your computer mouse clean is key for its performance and life span. After cleaning your Magic Mouse, it’s important to set up a cleaning routine. Also, follow the best practices for long-term care.
Regular Cleaning Schedule
Clean your mouse every few weeks or as needed. This depends on how much you use it and your environment. If you work in a dusty or busy office, clean it more often. Regular cleaning stops dirt, dust, and debris from building up, keeping your cursor moving smoothly.
Best Practices for Long-Term Care
- Wash your hands before using your mouse to avoid transferring oils and grime.
- Keep food and drinks away from your workspace to prevent spills that can damage the mouse’s internal components.
- Use a clean mouse pad and replace it pehttps://darrelaffiliate.com/wp-content/uploads/2024/12/vintage-electrical-and-electronic-appliances-in-an-2023-11-27-05-10-10-utc-e1734923695564.jpgdically to maintain a fresh, clean surface.
- Store your mouse in a clean, dust-free area when not in use to prevent the accumulation of debris.
- Check the mouse’s buttons and sensor regularly, and consider replacing the mouse feet if they become worn or sticky.
- Consult the manufacturer’s guidelines for specific cleaning and maintenance instructions for your mouse model.
By following these simple tips, you can make your computer mouse last longer. It will keep performing well, whether you’re gaming, working, or browsing the web.
Troubleshooting After Cleaning
After cleaning my computer mouse, I need to test all its functions. This ensures it works well. If I find issues like unresponsive buttons or a moving cursor, I start by checking the batteries. For optical mice, I make sure the sensor is clean and free from blockages.
Common Issues and Solutions
If problems still exist, I look at the manufacturer’s support resources. For expensive or gaming mice, professional repair might be needed. Sometimes, even with cleaning, a mouse just gets old and needs to be replaced.
When to Seek Professional Help
If basic troubleshooting doesn’t work, I contact the mouse maker’s support or see a tech. They can find and fix any deeper problems. Keeping my mouse clean is key, but sometimes, a pro is needed to fix it right.