How to Set Up Your First 3D Printer Like a Pro (No Experience Needed!)
Setting up a 3D printer at home can feel overwhelming. Many people think you need advanced CAD skills or deep knowledge of 3D printing technology. This guide shows you how to set up your first 3D printer easily, even without experience.
Get ready for success!
Key Takeaways
- Gather all necessary tools and materials before starting, including your 3D printer, filament or resin, print bed adhesive, computer with slicing software, spare parts, and cleaning supplies. This preparation ensures a smooth setup process.
- Choose the right 3D printer for your needs by researching and considering whether you prefer simple projects or more detailed work. Remember to look into user reviews for valuable insights about different printers.
- Use slicing software like Cura or PrusaSlicer to prepare your models for printing. Adjust settings such as layer height and infill density based on the desired outcome of your print.
- Make important adjustments to the printer settings before starting your project. Leveling the print bed, adjusting nozzle height and temperature, and monitoring first-layer adhesion are crucial steps for successful printing.
- Troubleshoot common issues promptly if they arise during printing. Checking filament feed, inspecting bed level and temperature settings can help resolve most problems.
What You’ll Need
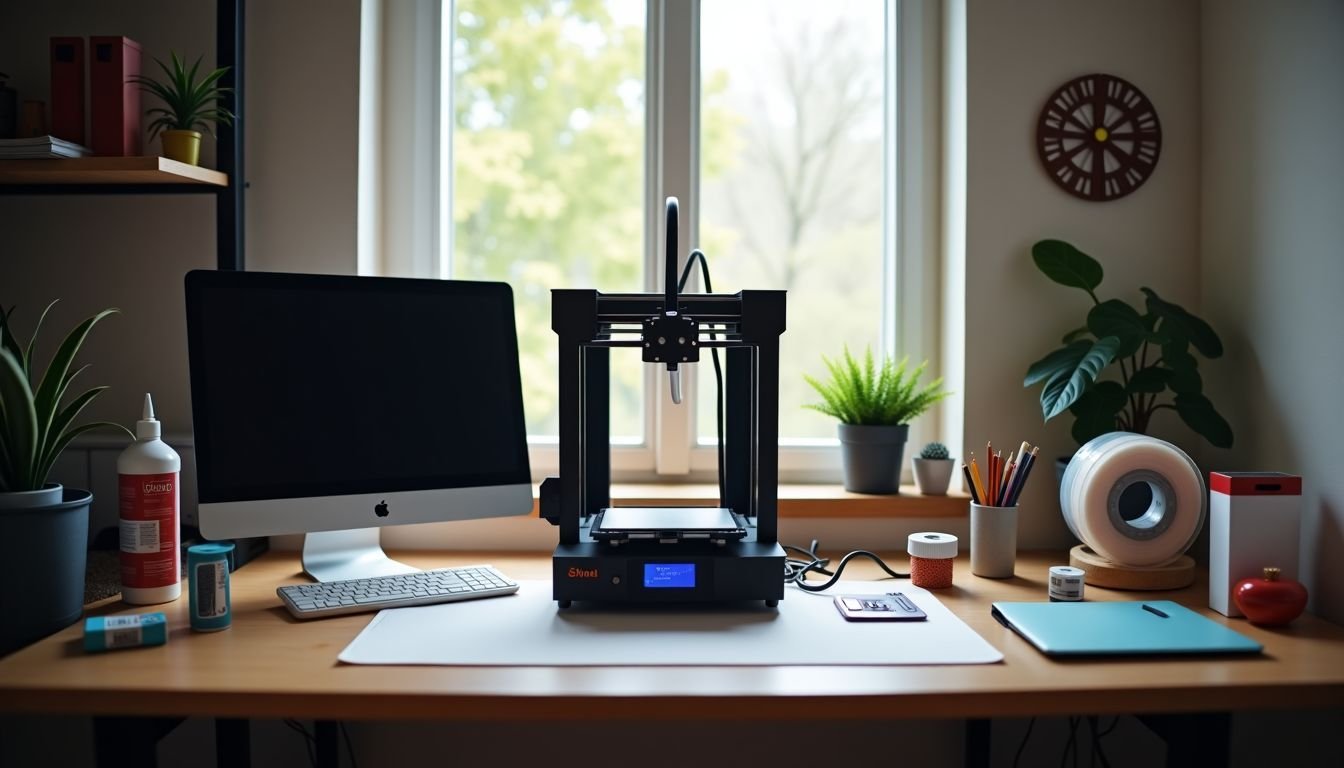
Getting started with 3D printing requires some basic tools and materials. You’ll need essential items to set up your first 3D printer like a pro.
- A 3D Printer: Choose a printer that fits your budget and needs. Popular options include FDM printers and resin printers for those looking for high detail.
- Filament or Resin: Select the right material for printing. Filament comes in vahttps://darrelaffiliate.com/wp-content/uploads/2024/12/vintage-electrical-and-electronic-appliances-in-an-2023-11-27-05-10-10-utc-e1734923695564.jpgus types such as PLA, ABS, or PETG for FDM printers. Resin is used for resin printing and offers fine details.
- Print Bed Adhesive: Use adhesive to help models stick to the print bed during printing. Options include spray adhesives, glue sticks, or specialized products made for 3D printing.
- Computer with Slicing Software: Get a computer that runs slicing software like Cura or PrusaSlicer. This software converts your models into instructions that the printer understands.
- 3D Models: Download or create designs you want to print. Websites like Thingiverse offer free, downloadable models perfect for beginners.
- Tools for Assembly: Keep tools handy such as screwdrivers and pliers for assembling parts of your printer if needed.
- Spare Parts: Have spare nozzles or belts available in case of damage during use. These can save you time and frustration later on.
- Cleaning Materials: Prepare cleaning supplies like isopropyl alcohol and paper towels to keep the printer clean between uses.
- Safety Equipment: Wear gloves and goggles when working with resin prints or hot components from FDM printers to protect yourself.
- A Place for Your Printer: Find a stable surface away from direct sunlight and dust where you can safely operate your printer without interruption.
Having these items ready will make the process smoother as you explore the basics of 3D printing at home.https://www.youtube.com/watch?v=2vFdwz4U1VQ
Setting Up Your 3D Printer
Setting up your 3D printer involves several key steps. You can save time and frustrations by following a clear process and making the right choices.
Choosing the Right Printer
Choosing the right printer is key for beginners. Many options exist, from budget printers to advanced models. Look at your needs first. If you want simple projects, a basic model will work fine.
For more complex creations, consider a printer that offers better features.
Do research online and read reviews. Users often share their experiences with different brands and types of printers. First-hand experience helps in understanding which machine fits your goals best.
Don’t forget to check dimensions and build volume too; this affects what you can print at home easily.
Preparing Print Files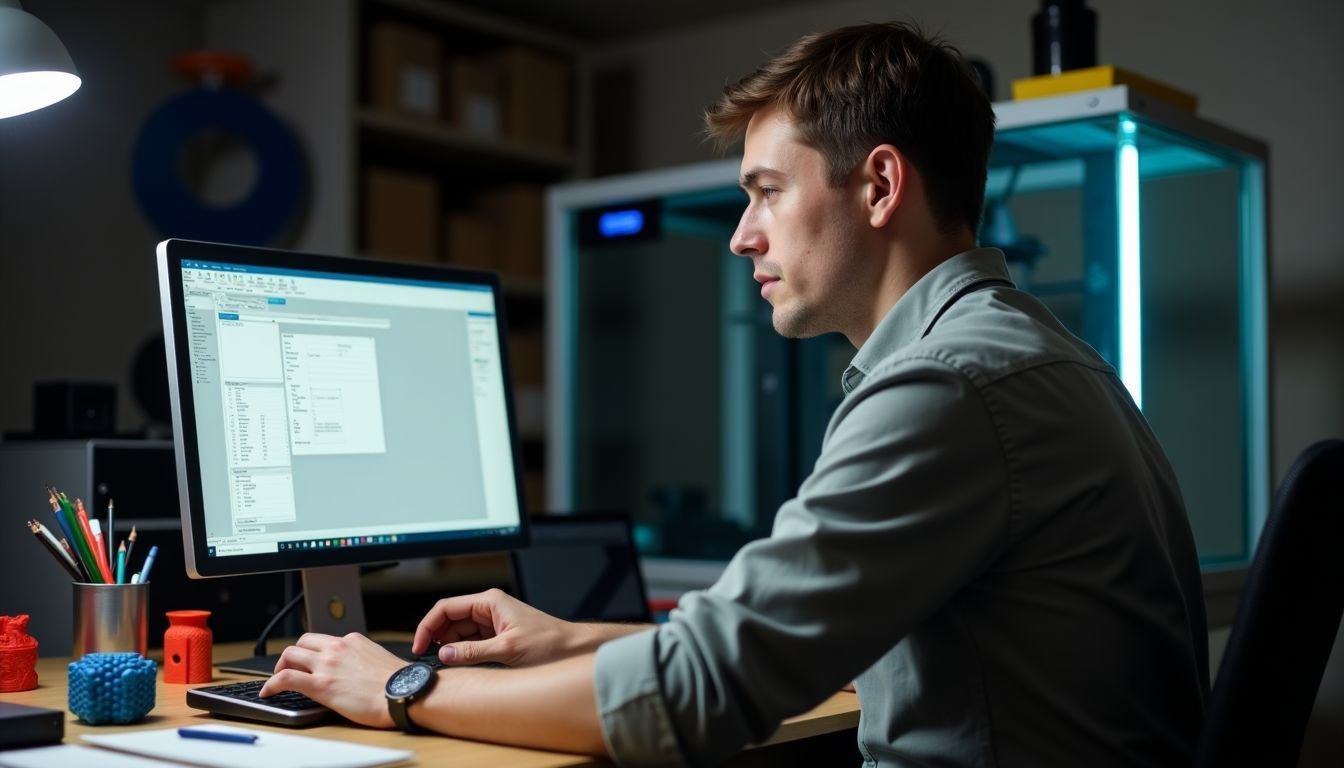
To prepare print files for your 3D printer, you need the right software. Many users start with programs like Cura or PrusaSlicer. These tools help transform models into a format that your printer understands.
You can find tons of printable models online on sites like Thingiverse and MyMiniFactory.
Once you’ve downloaded a model, import it into the slicing software. Adjust settings such as layer height, infill density, and supports if needed. Experimenting with these settings helped me achieve better prints in my early days of 3D printing at home.
Now you’re ready to make necessary adjustments before printing begins.
Making Necessary Adjustments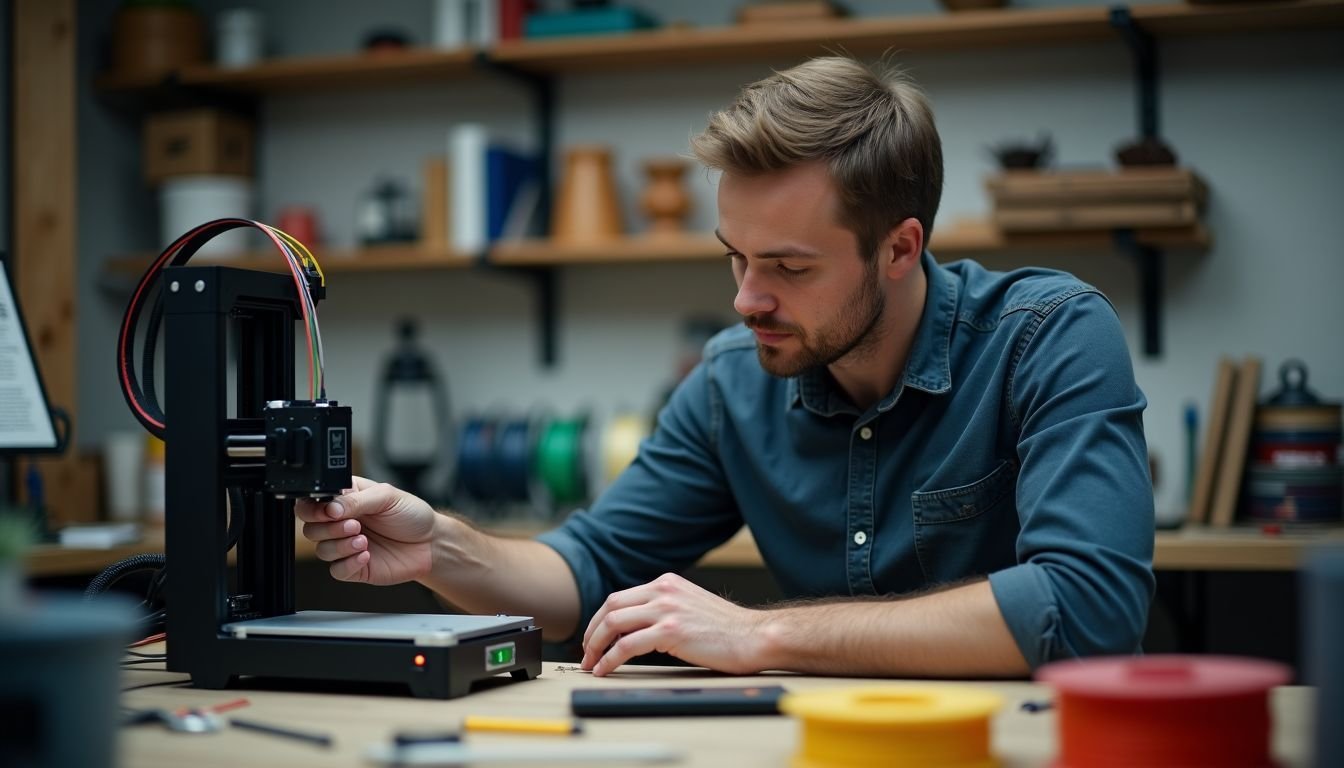
Setting up your 3D printer requires some adjustments. These tweaks ensure your prints come out perfectly.
- Level the print bed. Achieving a level surface is crucial for adhesion and accuracy in printing.
- Adjust the nozzle height. This setting impacts how close the nozzle gets to the bed, affecting material flow.
- Check the filament feed rate. A consistent feed rate prevents jams and provides better quality prints.
- Set the temperature correctly. Each material type has its optimal temperature range for best results.
- Fine-tune layer height settings. Smaller layers yield finer details, while thicker layers speed up print times.
- Monitor first-layer adhesion closely. Strong adhesion ensures that prints stick well and do not warp during production.
- Test different speeds for printing. Slower speeds often lead to higher quality, especially with intricate designs.
- Experiment with cooling fan settings. Proper cooling can prevent warping and improve overall print quality.
- Use recommended slicer software for your printer model. This software simplifies file preparation and helps optimize print settings.
- Keep your printer clean and well-maintained to avoid issues during printing sessions.
Making these necessary adjustments will make you feel like a pro at 3D printing!
Tips and Tricks for Successful Printing
4. Tips and Tricks for Successful Printing: Fine-tune your printer settings to improve print quality, and experiment with different materials to find the best results. Keep reading to discover more helpful insights!
Optimizing Settings
Optimizing your settings can greatly improve your 3D printing experience. Adjusting these settings will help you produce better prints and avoid common problems.
- Set the layer height to achieve the desired quality. A lower layer height gives you finer detail, while a higher layer height speeds up printing time.
- Adjust the print speed according to your printer model and material used. Slower speeds can enhance accuracy but may increase printing time.
- Choose the right temperature for your filament type. Each material has a recommended temperature range. Using the proper temperature prevents issues like stringing or warping.
- Configure retraction settings to minimize stringing between parts of your print. Retraction pulls back filament when the extruder moves, reducing unwanted threads.
- Calibrate your bed leveling to ensure even adhesion and proper alignment of layers. A well-leveled bed prevents print failures and improves overall print quality.
- Use support structures only when necessary to assist with complex models. They provide stability during printing but require post-processing to remove.
- Experiment with infill density to balance strength and material usage in your prints. Higher infill provides durability, while lower infill saves on filament cost.
- Ensure cooling settings are optimal for specific materials, like PLA or PETG, which often require fan assistance during printing for best results.
- Adjust flow rate if you notice inconsistencies in print thickness or gaps in layers during actual prints, affecting how much filament is pushed through the nozzle.
- Regularly check software updates for your slicing program, as improvements can optimize performance and address known issues in 3D printing technology.
Each adjustment makes a significant difference in how successfully you print at home with a 3D printer setup guide designed for beginners.
Materials and Tools
Setting up a 3D printer requires specific materials and tools to ensure a smooth experience. Having the right items on hand will make the process easier.
- A 3D printer: Choose one that fits your needs. Popular models include the Creality Ender 3 or Prusa i3 MK3S for beginners.
- Filament: This is the material you use to print. Common types are PLA, ABS, and PETG. Each has its own properties that affect printing quality.
- Print bed: Ensure your printer’s bed is leveled and properly prepared. Use tape or glue stick if necessary to help prints stick better.
- Slicing software: Programs like Cura or PrusaSlicer help prepare your models for printing. They convert 3D files into instructions your printer can understand.
- USB drive or SD card: Many printers require these for transferring files from your computer to the printer.
- Tools for assembly: You may need screwdrivers and pliers when setting up a D printer. These tools help assemble parts securely.
- Calipers: Use calipers to measure filament diameter accurately. This ensures consistent extrusion during printing.
- Cleaning supplies: Keep rubbing alcohol and cloths handy to clean the print bed. A clean surface means better adhesion of prints.
These materials and tools will set you up for successful D printing at home!
Troubleshooting Common Issues
Issues can arise during your first 3D printing experience. Troubleshooting these problems quickly makes a big difference.
- Check the filament feed. A jammed or misaligned filament can cause print failures. Clear any blockages and ensure the filament runs smoothly through the extruder.
- Inspect the bed level. An unlevel build plate often leads to poor adhesion. Adjust the leveling knobs until you achieve a uniform distance from the nozzle to the bed.
- Examine temperature settings. Incorrect temperatures can affect how materials melt and stick together. Make sure your printer heats to the recommended temperatures for your specific filament type.
- Look for clogs in the nozzle. A clogged nozzle prevents proper extrusion, leading to gaps in your prints. Clean it by heating up and using a needle to clear any debris.
- Monitor print speed settings. Speeds that are too fast can cause layer separation or failed prints, especially with certain filaments. Slow down if you notice issues with quality or consistency.
- Observe layer adhesion issues closely. Poor bonding between layers results in weak prints that can easily break apart, especially on tall structures or overhangs. Increase the temperature slightly or slow down printing speeds for better adhesion.
- Check for excessive warping during printing, particularly with ABS materials that tend to shrink as they cool down. Use an enclosure or apply adhesive solutions like glue stick on the build plate to reduce warping effects.
- Validate software compatibility of files before printing them on your 3D printer software, D printer software helps convert models into G-code properly suited for your machine model, avoid trying different slicing options until you find one that works best for you.
- Test different materials if you keep running into problems with one type of filament; some may not work well with your particular setup due to their unique properties like flexibility or strength limits.
- Explore online forums for help from other users who have faced similar challenges; many people share solutions and tips in beginner’s guide to D printing resources available online since community support significantly boosts problem-solving efficiency.
Troubleshooting issues provides valuable experience as you set up your first 3D printer like a pro! Next, let’s look at some effective tips and tricks for successful printing.
Conclusion
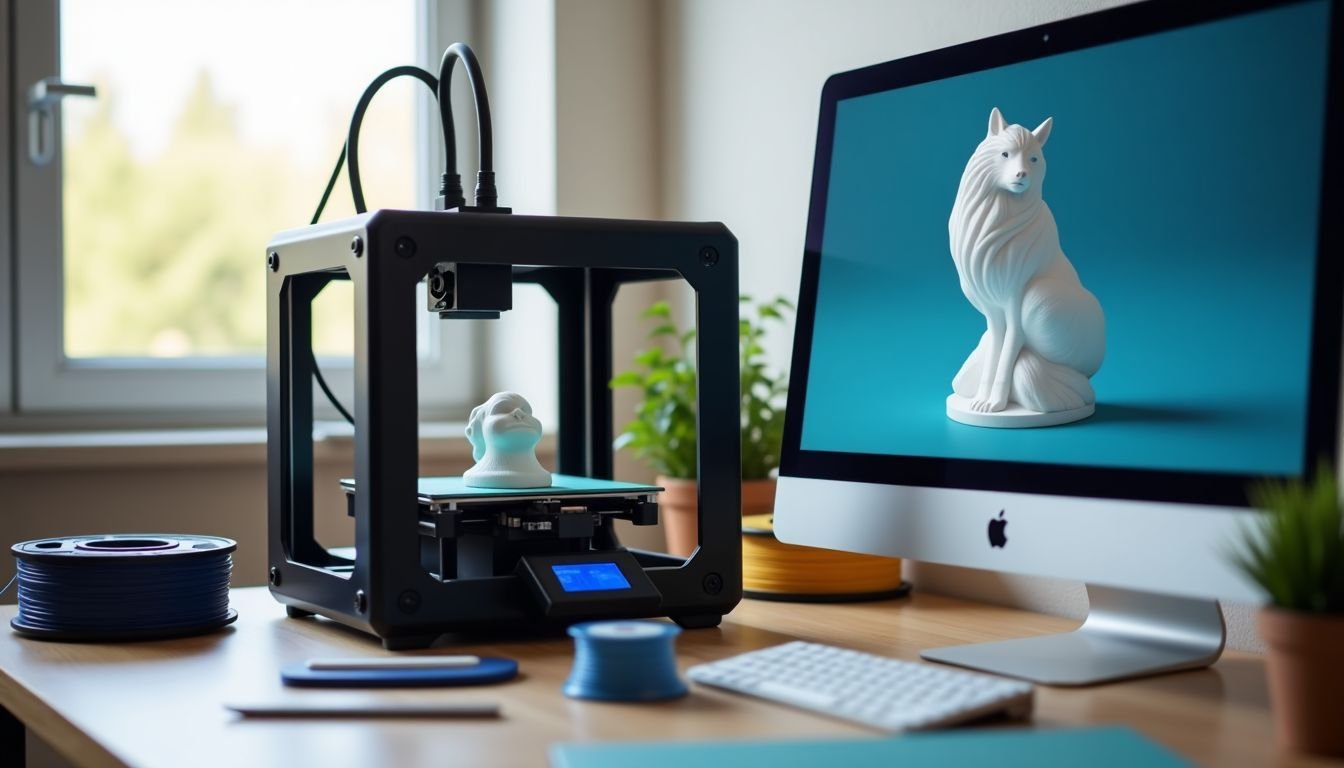
Setting up your first 3D printer can be exciting. Follow the steps outlined in this guide, and you’ll succeed. Start with the right printer and prepare your files carefully. Optimize your settings for great prints.
With a bit of practice, you’ll create impressive models in no time!
FAQs
1. How do I set up my first 3D printer if I’m a beginner with no experience?
Setting up a 3D printer for beginners involves understanding the basics of 3D printing, using the right 3D printing software and tools, assembling your 3D printer correctly, and ensuring proper calibration.
2. What are some essential steps in getting started with 3D printing?
Getting started with 3D printing requires learning about the technology behind it, setting up your own DIY 3d Printing project by following an introduction to D printing or a beginner’s D printing class tutorial.
3. Can you create your own models for Dprinting?
Yes! With the right knowledge of Dprinting basics and use of specific software tools, creating d printable models becomes easier even for beginners.
4. What should I do when encountering problems during my initial setup or usage?
When facing issues during setup or usage, referring to a detailed Dprinter troubleshooting guide can help resolve these common challenges faced by beginners in their first few attempts at using this technology.
5. Is there any special software needed for operating my new DPrinter effectively?
Absolutely! Using efficient dPrinting Software is crucial not only in creating designs but also in enhancing performance through regular calibration of your newly assembled dPrinter.