How to Design 3D Models for Printing – Step-by-Step Tutorial

Designing 3D models for printing can be tricky. Many people find it hard to start. This tutorial will guide you through each step, from picking CAD software to the final print. Let’s get started!
Key Takeaways
- Choose the right CAD software based on your skill level and project needs. Options range from free, beginner-friendly programs like Tinkercad to advanced options for professionals such as SolidWorks.
- Design considerations for 3D printing include understanding how to manage overhangs, bridging techniques, and material shrinkage. These factors impact print success and model quality.
- Use slicing software to prepare your 3D models for printing by adjusting settings like layer height, print speed, and temperature according to the selected material type.
- Successful 3D printing involves proper setup of the printer, choosing the right filament, calibrating your machine regularly, and using supports when necessary for complex designs.
- Post-processing methods such as sanding or chemical smoothing enhance the final appearance of printed models. Applying paint or coatings can also improve aesthetics and durability.
Choosing the Right Software
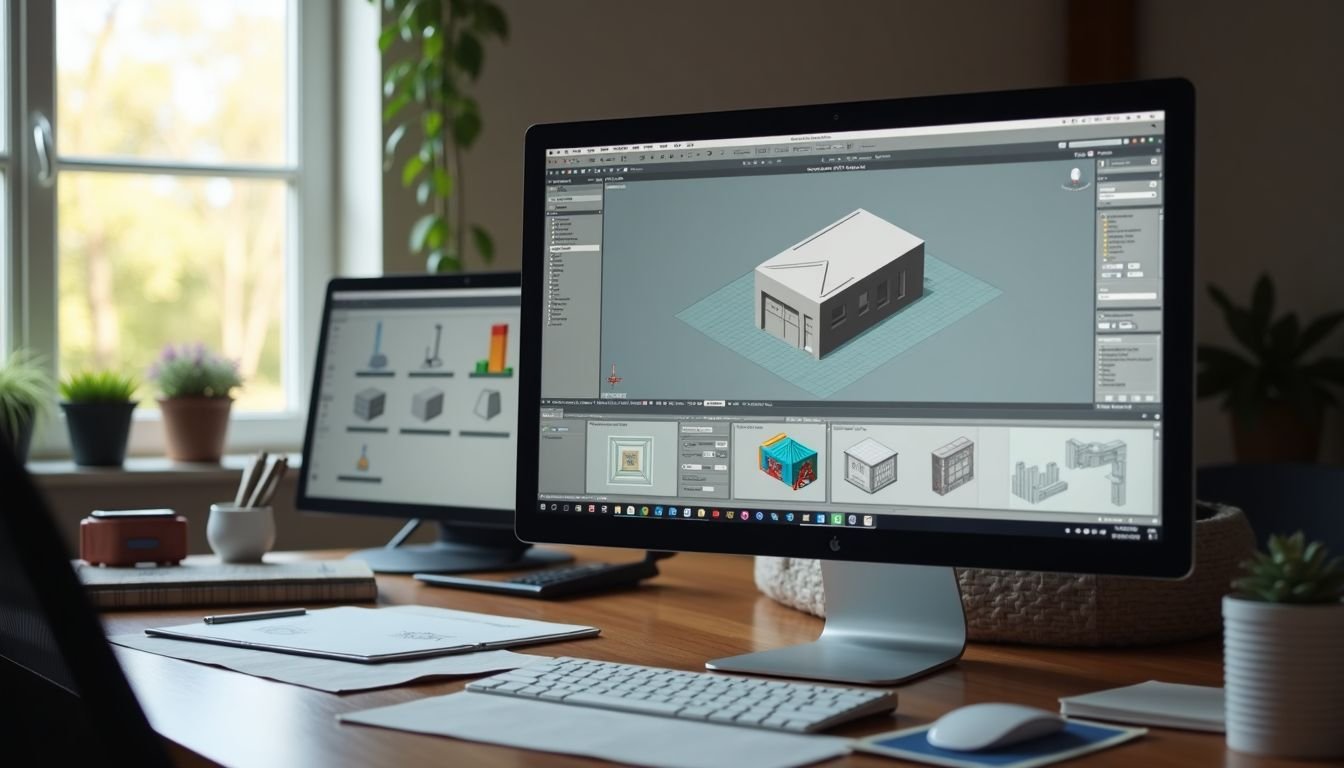
Choosing the right software can shape your 3D modeling journey. Many options exist, from free beginner-friendly tools to advanced CAD programs that professionals use.
Types of CAD programs
Choosing the right software is key to successful 3D modeling. Here’s a quick guide to different types of CAD (Computer-Aided Design) programs available.
| Type | Name | Level | Cost |
|---|---|---|---|
| General Use | TinkerCAD | Beginner | Free |
| General Use | AutoCAD | Advanced | Subscription |
| 3D Modeling | Blender | Intermediate to Advanced | Free |
| Engineering | SolidWorks | Advanced | Subscription |
| Product Design | Fusion 360 | Intermediate to Advanced | Subscription |
Each program offers unique features. For example, TinkerCAD is great for beginners. Meanwhile, SolidWorks suits more complex engineering projects. Blender is a versatile option, handling everything from 3D modeling to animation.
Now, let’s move on to understanding design considerations for 3D printing.
Free options for beginners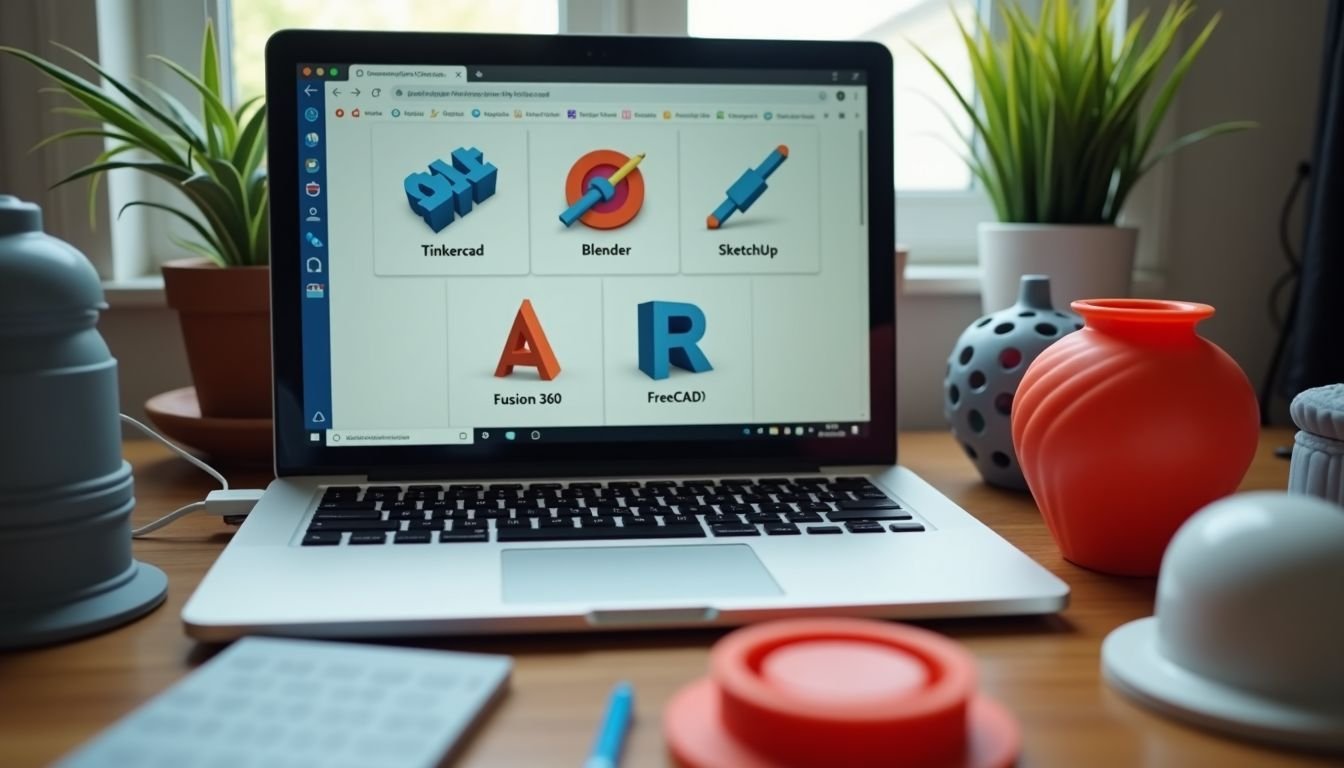
Many beginners feel overwhelmed when starting 3D modeling. Fortunately, several free software options simplify the process.
- Tinkercad is user-friendly and web-based. It allows users to create basic shapes and models easily. Newcomers can quickly grasp its functions without previous experience.
- Blender offers powerful tools for more advanced designs. Users can create detailed models and animations. The steep learning curve may challenge beginners but provides excellent resources online.
- SketchUp Free is another accessible option. It focuses on 3D design with a simple interface. Beginners can use it to design vahttps://darrelaffiliate.com/wp-content/uploads/2024/12/vintage-electrical-and-electronic-appliances-in-an-2023-11-27-05-10-10-utc-e1734923695564.jpgus projects, including school project modeling.
- Fusion 360 for personal use provides a robust option for intermediate users. This software combines CAD design and engineering tools. Students can access it free of charge while learning about additive manufacturing.
- FreeCAD gives users flexibility with parametric modeling capabilities. This program suits those interested in precise engineering projects or custom parts.
- Sculptris introduces beginners to sculpting in a digital space. Users can create organic shapes easily with its intuitive interface.
Exploring these options helps beginners get started in 3D modeling for printing projects effectively. Gaining experience with these free programs lays the foundation for future growth in the field of D modeling for printing tutorials.
Intermediate to advanced options
Choosing intermediate to advanced options for 3D modeling software opens up a world of possibilities. These programs provide enhanced features that cater to sehttps://darrelaffiliate.com/wp-content/uploads/2024/12/vintage-electrical-and-electronic-appliances-in-an-2023-11-27-05-10-10-utc-e1734923695564.jpgus creators.
- Autodesk Fusion 360 offers a powerful set of tools for both design and engineering. Users can create complex geometries and simulations, making it ideal for prototyping.
- SolidWorks stands out with its parametric design capabilities. This software allows users to build detailed models with precise measurements, helping in creating professional-grade designs.
- Rhino specializes in freeform surface modeling. Its flexibility makes it perfect for artists and designers who want to explore unique shapes and forms for their projects.
- Tinkercad is an excellent step up from beginner programs while remaining user-friendly. It provides basic shapes combined with easy-to-learn tools, suitable for those wanting more than just simple designs.
- Blender is well-known in the animation industry but excels in 3D printing too. Its extensive features allow users to craft intricate models, making it popular among hobbyists and professionals alike.
- Meshmixer offers strong editing capabilities specifically designed for preparing models for printing. It helps refine details and supports fixing common issues in designs before sending them to a printer.
- SketchUp Pro delivers an intuitive interface perfect for architectural designs and rapid prototyping. Users appreciate its ease of use, which streamlines the modeling process without compromising on quality.
- FreeCAD is open-source software that caters to both beginners and experienced users alike. It provides solid modeling tools essential for creating sophisticated 3D printable models efficiently.
- Onshape utilizes cloud-based technology, enabling collaboration among team members in real-time. This feature enhances productivity as teams can work together on complex projects seamlessly.
- CATIA supports intricate design requirements across vahttps://darrelaffiliate.com/wp-content/uploads/2024/12/vintage-electrical-and-electronic-appliances-in-an-2023-11-27-05-10-10-utc-e1734923695564.jpgus industries like aerospace or automotive engineering. Users leverage its advanced functions when creating parts that require high precision during production stages.
Utilizing these advanced software options will elevate your skills as you learn how to design 3D printable models effectively for diverse projects like school assignments or personal creations.
Designing for 3D Printing
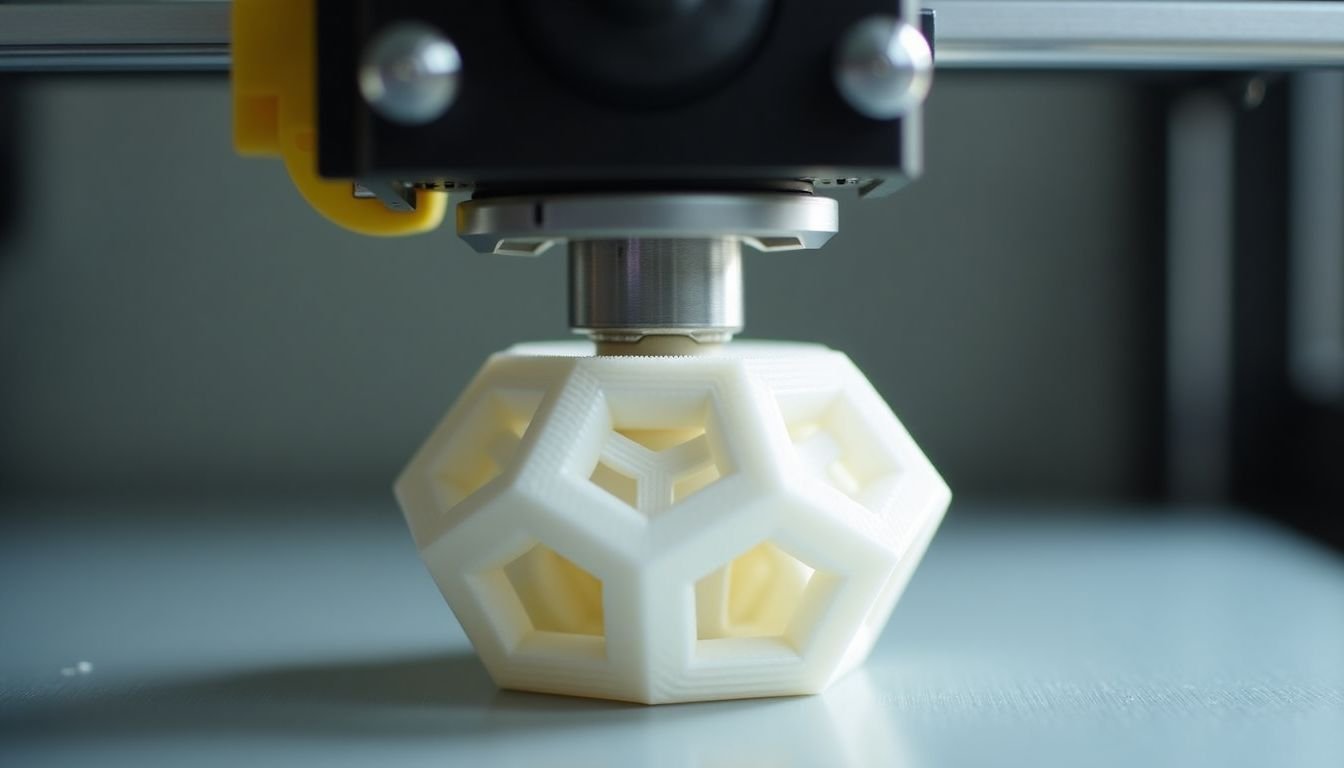
Creating effective 3D models requires attention to design details. You need to account for factors like overhangs and bridging techniques to ensure successful prints.
Understanding design considerations
Designing for 3D printing requires careful thought. You need to consider how your model will print. Overhangs can be tricky, so think about adding supports or adjusting angles. Bridging is another important factor to keep in mind.
A well-designed bridge ensures that the printer can create gaps without sagging.
Materials also play a significant role in your design process. Different filaments react differently when printed. Some may shrink more than others as they cool, which can cause issues with precision and fit.
Plan for this by allowing extra space or using certain techniques to counteract shrinkage during the D printing process. These steps lead to successful designs and high-quality prints, especially for beginners learning D modeling for printing.
Utilizing bridging and overhang techniques
Bridging and overhang techniques play a crucial role in 3D printing. These methods help improve the quality of your printed models.
- Utilize bridging to connect gaps in your design. This technique allows the printer to create horizontal spans without support material.
- Design overhangs carefully to avoid drooping. A slight angle can help prevent issues during printing.
- Apply support structures where necessary for steep overhangs. These temporary supports will ensure that delicate sections print correctly.
- Experiment with different materials to see how they handle bridges and overhangs. Some filaments offer better flexibility and strength.
- Incorporate gradual slopes instead of abrupt drops in your models. Smooth transitions will reduce the need for additional supports.
- Test small sections of your design before printing the entire model. This practice helps you identify potential problems early on.
- Keep printer settings optimized for each design choice. Adjusting speed, temperature, and layer height can enhance print quality.
- Consider using specific slicing software options to manage bridging effectively. Many programs offer features that adjust settings automatically based on your model.
Following these techniques boosts the success rate of creating 3D printable models successfully. Using effective strategies ensures smoother designs and better results in your 3D printing projects.
Tips for creating rounded surfaces and holes
Creating rounded surfaces and holes enhances the look of your 3D models. These features also improve functionality, allowing for smoother interactions and better fits.
- Use a chamfer or fillet tool to create rounded edges. This technique softens sharp transitions between surfaces. It makes your design visually appealing.
- Adjust the resolution settings in your software. Higher resolution results in smoother curves on rounded surfaces. This detail becomes visible in the final print.
- Design holes with consideration for their size and placement. Ensure they align well with other components for proper assembly. Misalignment can lead to issues during printing.
- Test different hole shapes for better aesthetics and function. Experimenting with vahttps://darrelaffiliate.com/wp-content/uploads/2024/12/vintage-electrical-and-electronic-appliances-in-an-2023-11-27-05-10-10-utc-e1734923695564.jpgus shapes like oval or hexagonal can yield exciting results.
- Apply support structures if needed. Complex rounded features may require additional support during printing to avoid collapsing or sagging.
Exploring effective printing techniques follows these tips on designing surfaces and holes effectively.
Preparing for Printing
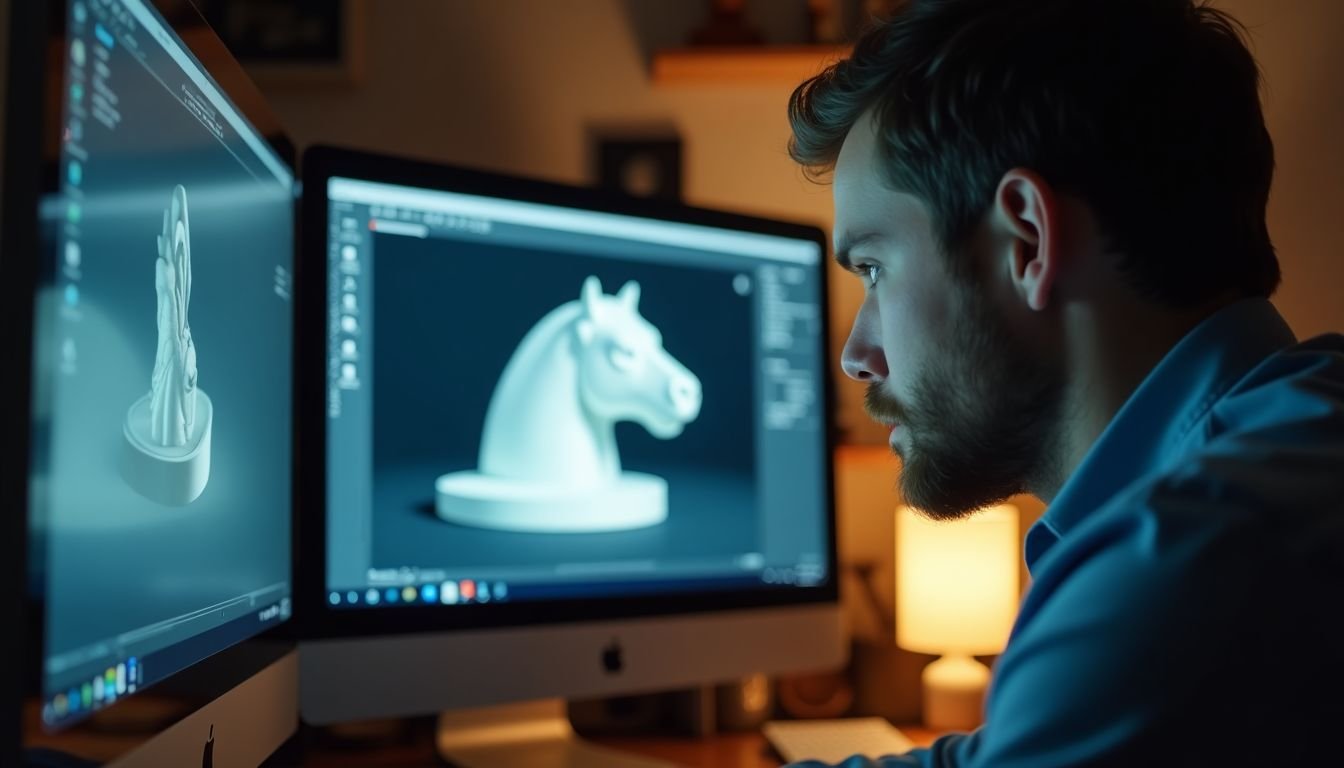
Before you print your design, double-check it with slicing software. This tool slices your 3D model into layers for printing. Make sure to choose the right layer orientation for better results.
Proper preparation can make a big difference in your final product quality. Want to learn more about the printing process? Keep reading!
Using slicing softwareSlicing software prepares your 3D models for printing. It takes your design and cuts it into layers that the printer can understand. Popular options include Ultimaker Cura and PrusaSlicer.
Both programs offer simple interfaces for beginners.
Open your model in the slicing software to set parameters like layer height, print speed, and temperature. Adjust these settings based on material type and desired quality. Personal experience shows that fine-tuning these variables helps achieve better prints.
After adjusting settings, export the sliced file as G-code for your 3D printer. This process makes creating 3D printable models easier and more efficient!
Ensuring proper layer orientationLayer orientation plays a key role in the success of 3D printing. Correctly positioning your model ensures strength and durability.
- Choose the best orientation based on the model’s features. Flat surfaces should face down to create a strong base during printing.
- Position parts with overhangs carefully. Orient them to minimize the need for supports, which can add extra work and print time.
- Consider the direction of stress when orienting your model. Place high-stress areas parallel to the print bed for better strength.
- Analyze how each layer builds upon the previous one. Proper layering helps prevent warping and enhances overall print quality.
- Test different orientations with small prints first. Experimenting will help you understand how different angles affect strength and appearance.
Each of these steps proves essential in preparing your design for printing success. Next, we will explore using slicing software effectively for optimal results in 3D printing.
Printing and Post-Processing
After you upload your designs, start the printing process and follow the post-processing steps carefully. This stage is crucial for achieving high-quality results. Successful 3D printing requires attention to detail and patience.
Want to learn more about tips for effective printing? Keep reading!
Uploading designs
Uploading designs to your 3D printer’s software is an essential step. First, save your completed 3D model in a compatible file format like STL or OBJ. These formats work well for most slicing software.
Next, open the slicing program and import your design. Adjust settings such as layer height and print speed based on your project needs. Many users find that experimenting with these settings yields better results.
After configuring everything, export the G-code file ready for printing. This leads you directly into the next phase: Printing and Post-Processing.
Printing and post-processing steps
Printing 3D models requires careful execution and attention to detail. Post-processing enhances the final product’s quality.
- Start with setting up your 3D printer. Ensure it’s on a flat surface and all components are in working order. Check the filament type to match your design specifications.
- Open your slicing software to prepare the model for printing. This program converts your 3D model into printer instructions, determining how layers will stack.
- Adjust print settings according to your project requirements. Set parameters such as layer height, infill density, and printing speed. These settings impact both strength and appearance.
- Export the sliced file to an SD card or directly connect it to your printer via USB cable. This allows you to transfer the necessary commands for printing.
- Start the print job by selecting your file on the printer interface. Monitor the initial layers closely, as they set the foundation for successful prints.
- After completion, carefully remove the print from the build plate using a spatula or knife. Take caution not to damage delicate features during this step.
- Inspect the printed model for any imperfections that might need fixing. Common issues include stringing and rough surfaces that may require sanding or trimming.
- Clean up any support material if used during printing, especially for complex designs needing extra support structures.
- Use chemical smoothing techniques or heat treatments if required for specific materials like ABS or PLA, enhancing surface finish further.
- Apply paint or coatings if desired to improve aesthetics and durability of your 3D printed model, especially if it’s meant for display or practical use.
This process ensures high-quality results from your 3D printing endeavors while enriching your skills in designing 3D printable models through hands-on experience with vahttps://darrelaffiliate.com/wp-content/uploads/2024/12/vintage-electrical-and-electronic-appliances-in-an-2023-11-27-05-10-10-utc-e1734923695564.jpgus technologies.
Tips for successful 3D printing
Successful 3D printing depends on careful preparation and execution. Follow these tips to boost your chances of achieving great results.
- Choose the right material. Different filaments, like PLA or ABS, work best for vahttps://darrelaffiliate.com/wp-content/uploads/2024/12/vintage-electrical-and-electronic-appliances-in-an-2023-11-27-05-10-10-utc-e1734923695564.jpgus projects. Research which material suits your design for optimal strength and finish.
- Adjust print settings carefully. Tweak parameters like layer height, print speed, and temperature. These changes can significantly affect the quality of the printed model.
- Check your printer calibration regularly. A well-calibrated 3D printer ensures that dimensions match your design specifications. Neglecting calibration can lead to errors in size and fit.
- Use support structures wisely. Complex models with overhangs benefit from supports during printing. Add support in slicing software to avoid failed prints and improve stability.
- Keep your workspace clean. Dust and debris can interfere with print quality and cause adhesion issues on the build plate. A tidy setup encourages better results.
- Conduct test prints before full-scale projects. Smaller models help you identify potential problems without wasting resources or time on larger prints. This step leads to fine-tuning designs early on.
- Monitor the printing process closely for any issues that arise in real-time during production sessions. Being present allows for quick fixes when necessary, enhancing print success rates.
- Experiment with different slicing software options available online for better control over your prints’ outcomes; each program has unique features that may benefit specific tasks while fulfilling design goals effectively.
- Ensure proper ventilation in your printing area, especially when using materials that emit fumes during melting processes; this practice promotes a safe working environment essential for health.
- Stay informed about advancements in 3D printing technology through blogs and tutorials like “How to Design 3D Models for Printing – Step-by-Step Tutorial.” Continuous learning drives improvements in skills over time.
Discover how to prepare your designs efficiently in the next section: Preparing for Printing.
Conclusion
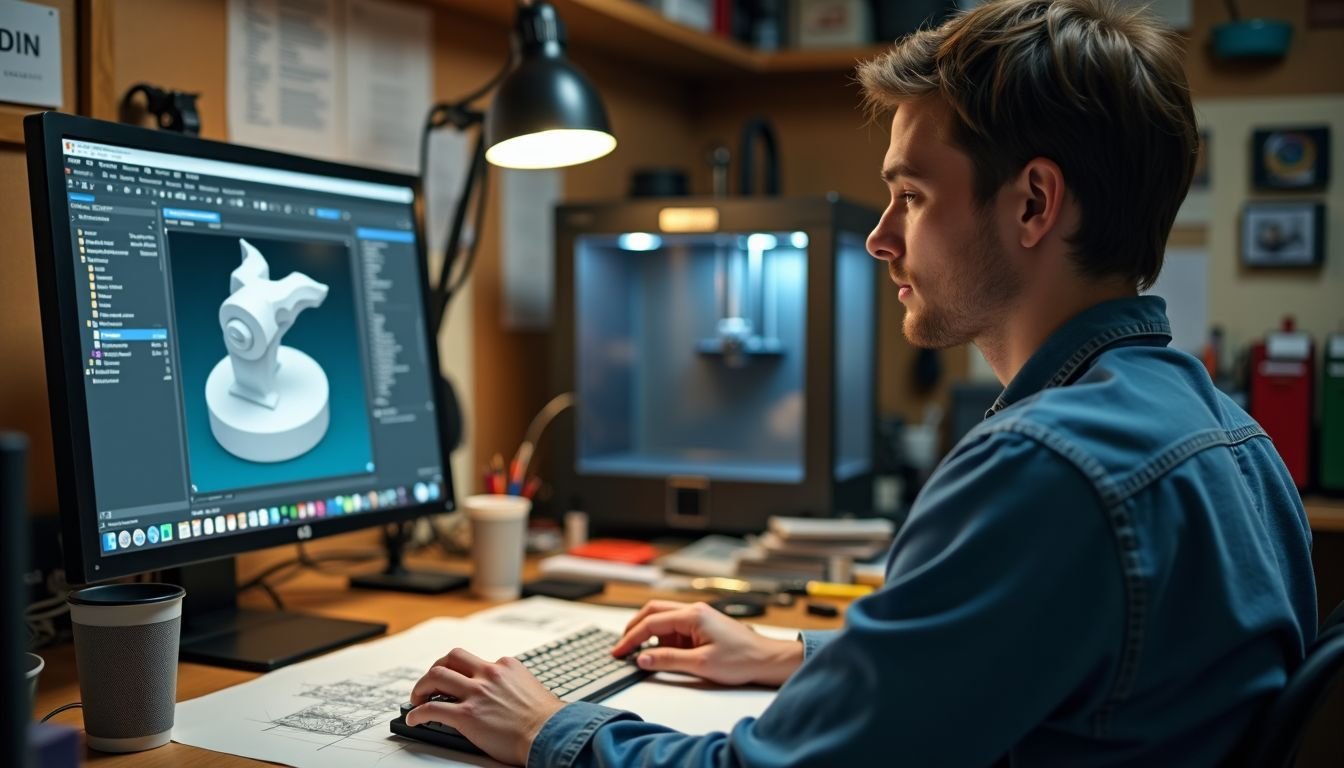
Creating 3D models for printing can be a fun and rewarding process. You can start with user-friendly software, especially if you’re a beginner. Focus on design details to ensure your model prints well.
Follow each step carefully, from preparation to post-processing. With practice, you will create amazing designs that impress everyone!
FAQs
1. What is the basic process of designing 3D models for printing?
Designing 3D printable models involves using digital modeling software, like Blender, to create a computer-aided design. This tutorial provides a step-by-step guide to help beginners.
2. Can I use free software for creating 3D models for printing?
Yes, there are free 3D modeling tools available such as Blender that you can use for designing your own printable models.
3. How useful is this tutorial for beginner 3D modelers aiming at printing their designs?
This step-by-step guide on how to design 3D models is ideal for beginners who want to learn about creating and printing their own designs.
4. Is this tutorial applicable if I’m working on school projects involving 3D modeling and printing?
Yes! The instructions provided in this “How-to” guide are perfect not only for personal projects but also when creating complex structures or objects like those needed in school projects.
5. Where else can I apply the skills learned from this D-printing model design tutorial besides just school projects?
The skills you gain from learning how to create and print your own designs can be applied across many sectors including architecture, engineering, manufacturing among others where computer-aided design and digital modeling are used.